













🍏 How to install macOS Catalina on VirtualBox in Windows: a step by step guide
macOS without a Mac? Sounds like science fiction, but VirtualBox makes it real. Developers, testers, and the simply curious all eventually face the need to run Apple's OS on a Windows machine.
The problem is that Apple does not encourage installing macOS on non-Apple hardware. Without the right settings, you will get a black screen, a freeze on the logo, or an "End RandomSeed" error. Sound familiar?
Below is a step-by-step guide tested in practice: from downloading the image to the macOS Catalina 10.15 desktop on VirtualBox. All commands have been tested on the current version, and the screenshots are from the actual installation process.
💡 Quick overview:
- Download the latest version of VirtualBox and the Extension Pack from the official site
- Download a ready-made macOS Catalina image in VMDK format (a virtual disk file)
- Create a new virtual machine with the Mac OS X (64-bit) type and attach the VMDK file
- Configure RAM, CPU cores, video memory, and USB 3.0 in the machine settings
- Run a set of VBoxManage commands in the command line as administrator
- Start the virtual machine and follow the standard macOS installation procedure
Required files and tools
Before you begin, make sure you have three things on hand. First, VirtualBox itself. Download the latest version from the official site (at the time of writing, 7.1.x). Along with it, immediately get the VirtualBox Extension Pack, the very file without which the mouse, keyboard, and USB 3.0 will not work inside the guest macOS.
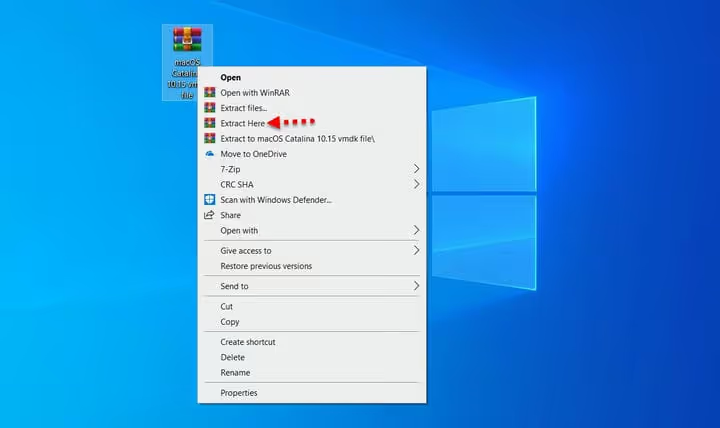
Second, a macOS Catalina 10.15 virtual machine image in VMDK format. The file is large (around 8 GB compressed), so make sure you have a fast connection. An important nuance: VirtualBox only supports files in HFS format. An APFS image, which Apple has used by default since macOS High Sierra, will not boot through VirtualBox. After downloading, extract the archive using 7-Zip or WinRAR; the extracted image will take up approximately 40 GB on disk.
Third, administrative access to the host Windows. Without it, the VBoxManage commands (step 4) will not execute, and the installation will fail with an error.
Step 1: Installing VirtualBox and Extension Pack
Run the downloaded VirtualBox installer. The setup wizard is standard: click "Next" a few times, and the system will warn you about a temporary network disconnection. This is normal: VirtualBox is installing a virtual network adapter. Confirm, click "Install," and wait for it to finish.
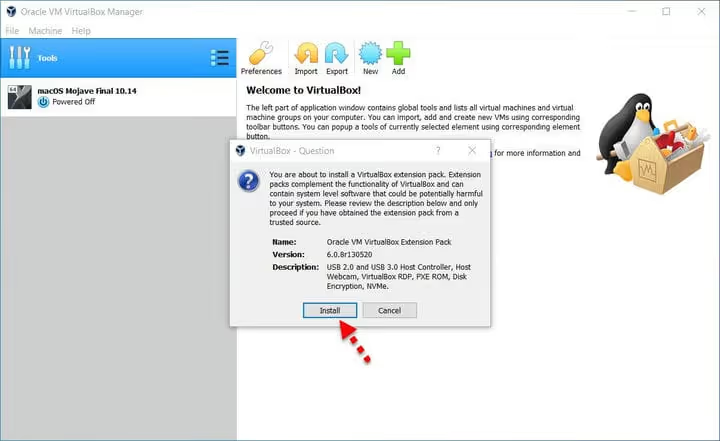
After installing VirtualBox itself, it is time for the Extension Pack. Find the file in the same downloads folder, double-click it, and VirtualBox will automatically pick it up and offer to install it. Click "Install" and accept the license. The Extension Pack solves three critical problems: USB 3.0 support (required for macOS Catalina and later), fixing the mouse/keyboard issue, and disk encryption support.
Step 2: Creating a virtual machine for macOS Catalina
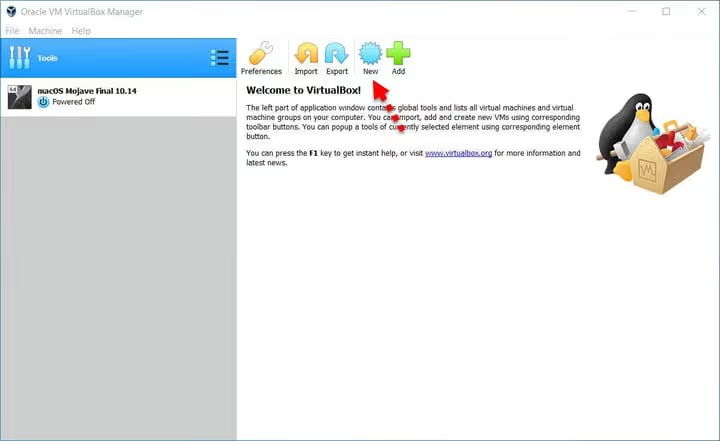
Open VirtualBox and click the "New" button on the top panel. The new virtual machine creation wizard will open.
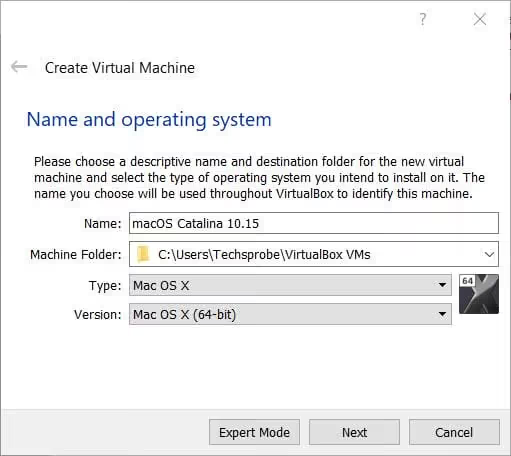
In the "Name" field, enter a name for the machine, for example, "macOS Catalina 10.15." In the "Type" dropdown, select Mac OS X, and in "Version," select Mac OS X (64-bit). Click "Next."
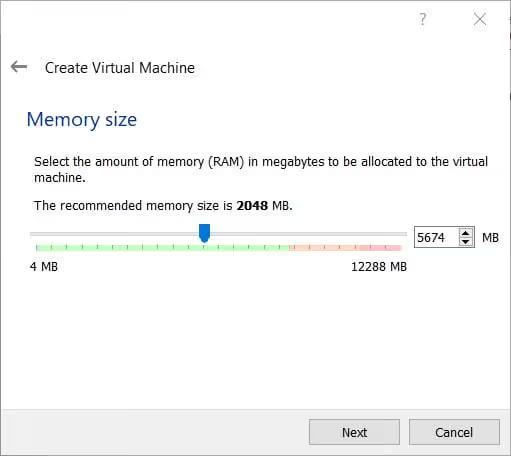
In the next step, assign the amount of RAM. The recommended minimum for Catalina is 2048 MB, but in practice it is better to allocate 4096 MB (4 GB) if your host hardware allows. Below 2 GB, the macOS interface will noticeably lag.
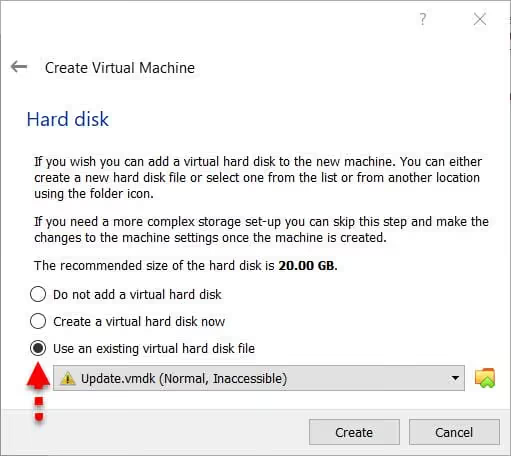
Next, choosing the hard disk. Select the third option: "Use an existing virtual hard disk file." Click the folder icon next to it, locate the extracted .vmdk file, and confirm your selection by clicking "Create."
The .vmdk file is attached. If you have not extracted the image yet, now is the time: the archive takes up about 8 GB, and the extracted disk takes up to 40 GB. Make sure you have enough space on your SSD.
The machine is created, but it is not time to start it yet. Ahead is fine-tuning, without which macOS will not even start.
Step 3: Fine-tuning virtual machine settings
Select the created machine in the VirtualBox list and click "Settings" (the orange gear). Let us go through the tabs.
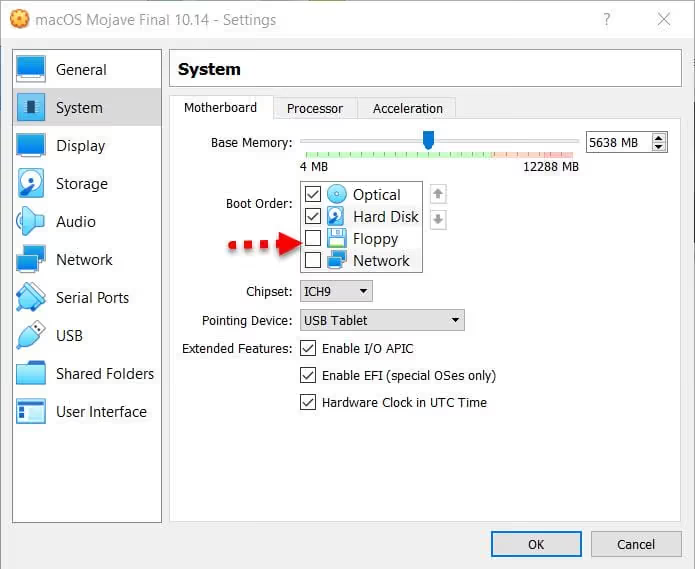
"System" tab, "Motherboard." Uncheck "Floppy" in the boot order. macOS does not work with floppy disks, and this option sometimes causes boot errors.
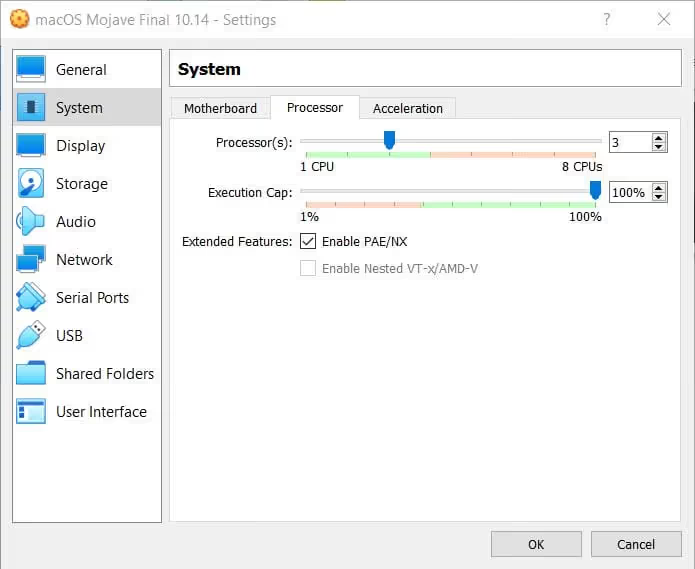
"System" tab, "Processor." Increase the number of cores to 2 or 4 (depending on your processor). With a single processor, Catalina will run too slowly. Do not give all your host cores away: leave at least 2 for Windows.
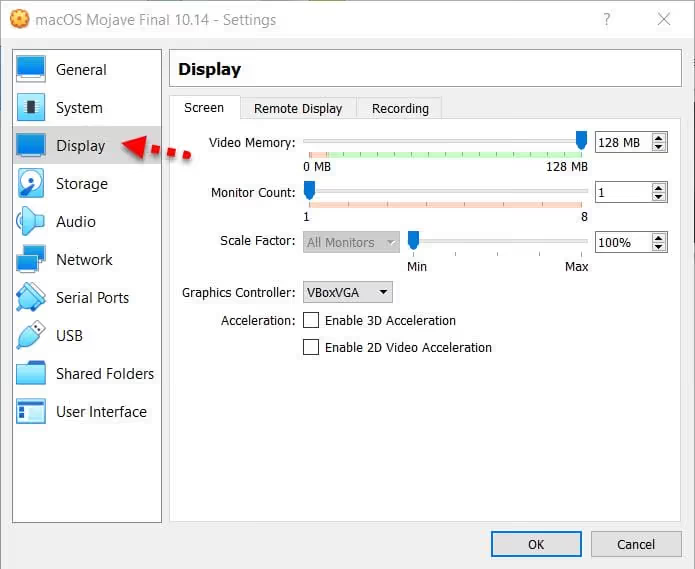
"Display" tab, "Screen." Increase the video memory to 128 MB. This is the maximum VirtualBox allows without 3D acceleration, and it is sufficient for a smooth Catalina interface.
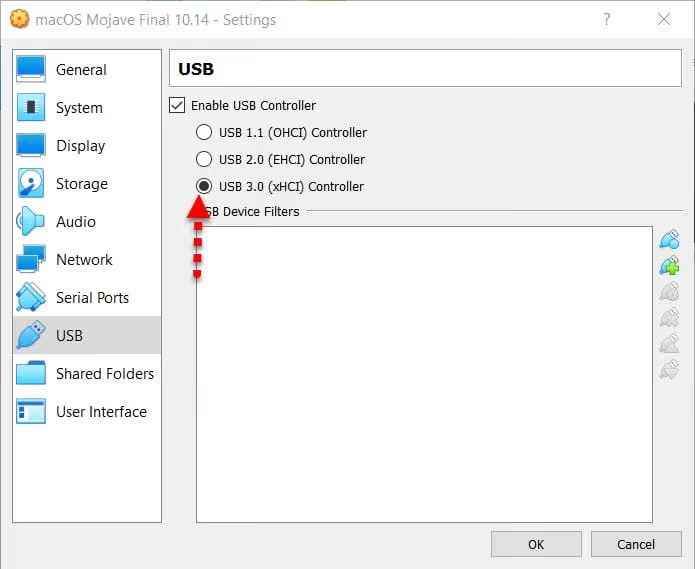
"USB" tab. Enable the USB controller and select USB 3.0 (xHCI). Without this, the mouse and keyboard will not work in the guest system. Click "OK" to save all settings.
Step 4: Command line codes (the key step)
This is the most critical moment. Apple blocks macOS from running on non-Apple hardware at the level of CPUID and SMC controller verification. To bypass this check, VirtualBox needs to "present itself" as a real Mac. This is done with a set of VBoxManage commands.
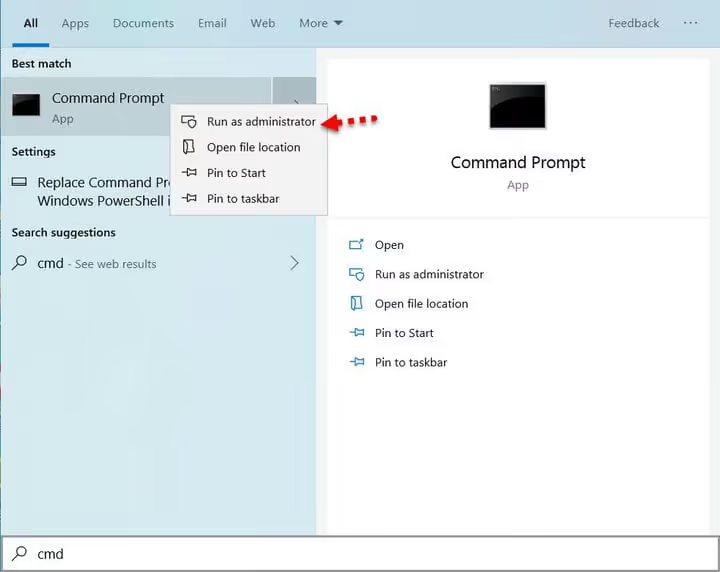
Close VirtualBox completely. Open the command prompt as administrator: right-click on "Start" → "Command Prompt (Admin)" or "Windows PowerShell (Admin)."
Replace "Your VM Name" in the codes below with the exact name of your virtual machine (the same one you entered in step 2). If the name contains spaces, the quotes are mandatory.
For VirtualBox 7.x and 6.x (commands from the official VirtualBox documentation):
1 cd "C:\Program Files\Oracle\VirtualBox" 2 VBoxManage.exe modifyvm "Your VM Name" --cpuidset 00000001 000106e5 00100800 0098e3fd bfebfbff 3 VBoxManage setextradata "Your VM Name" "VBoxInternal/Devices/efi/0/Config/DmiSystemProduct" "iMac11,3" 4 VBoxManage setextradata "Your VM Name" "VBoxInternal/Devices/efi/0/Config/DmiSystemVersion" "1.0" 5 VBoxManage setextradata "Your VM Name" "VBoxInternal/Devices/efi/0/Config/DmiBoardProduct" "Iloveapple" 6 VBoxManage setextradata "Your VM Name" "VBoxInternal/Devices/smc/0/Config/DeviceKey" "ourhardworkbythesewordsguardedpleasedontsteal(c)AppleComputerInc" 7 VBoxManage setextradata "Your VM Name" "VBoxInternal/Devices/smc/0/Config/GetKeyFromRealSMC" 1
What each line does:
--cpuidsetspoofs the processor signature to one compatible with macOSDmiSystemProductandDmiBoardProductset the Mac model (iMac11,3, mid-2010, works stably with Catalina)DeviceKeyandGetKeyFromRealSMCemulate the Apple SMC controller; without this, the macOS kernel panics at startup
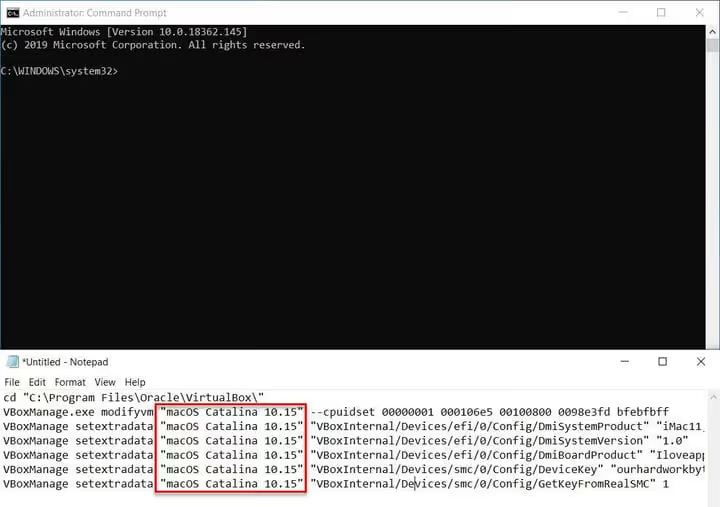
Copy one line at a time, pressing Enter after each one. A syntax error in even one line will cause macOS to display "End RandomSeed" or a black screen on startup. After executing all six commands, close the command prompt and open VirtualBox again.
Step 5: Starting and installing macOS Catalina
Start the virtual machine by clicking the "Start" button. The first boot may take several minutes; this is normal. Next comes the standard macOS installation procedure with screens familiar to every Mac owner.
Screen 1. Language and country selection. Choose Russian (or your preferred language) for the interface language and click "Continue."
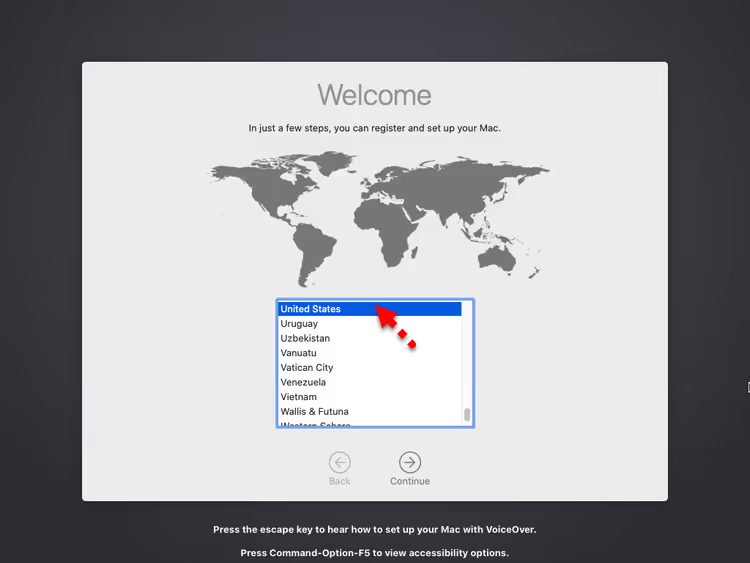
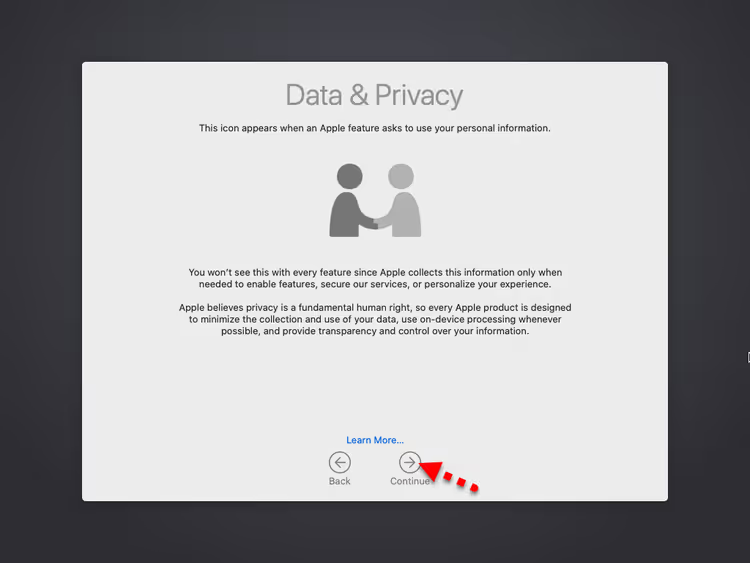
Screen 2. Data and privacy. Review Apple's data policy. In short: Apple collects diagnostics, but you can opt out.
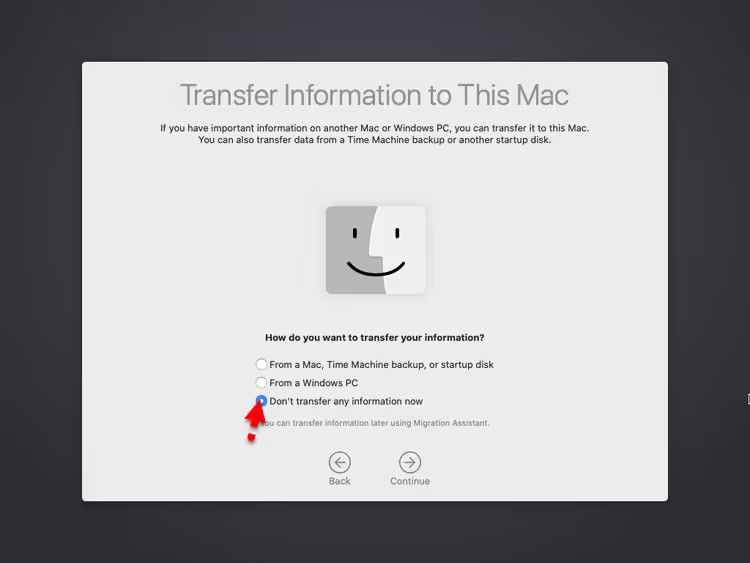
Screen 3. Analytics. Select "Don't send information to this Mac" and click "Continue."
Screen 4. Apple ID. Sign in with your Apple ID or click "Set Up Later" to skip. An account is not required for app testing.
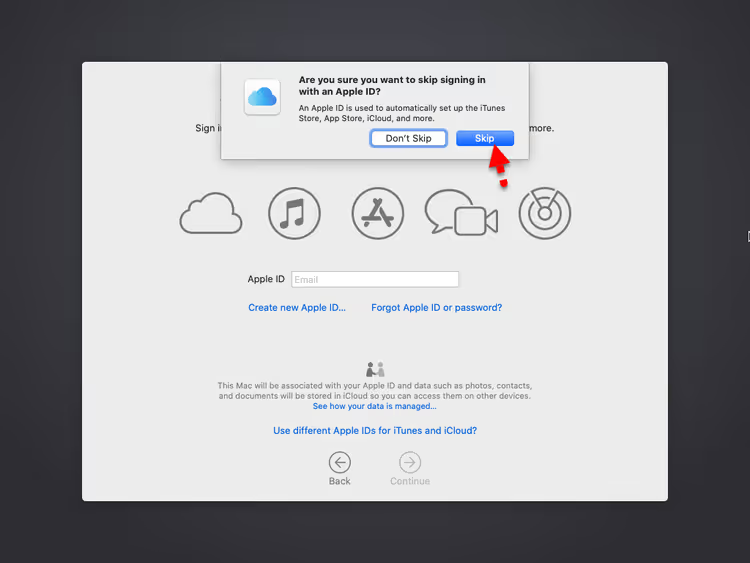
Screen 5. License agreement. Accept the terms; you cannot proceed otherwise.
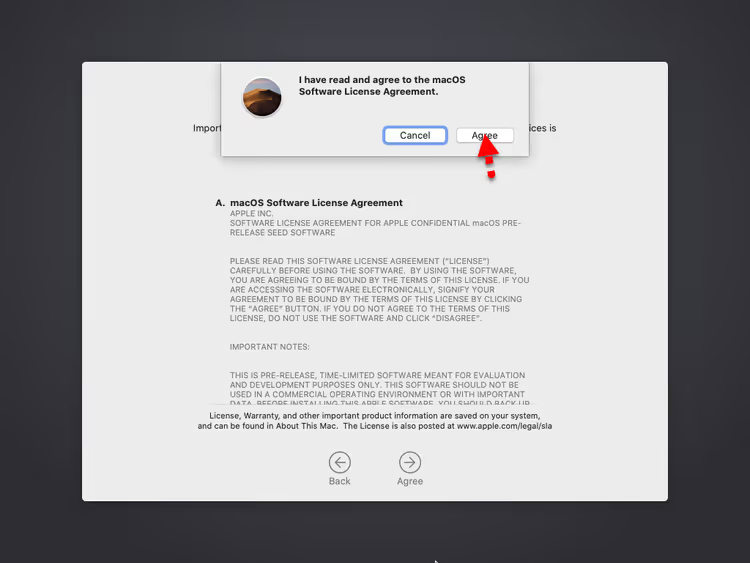
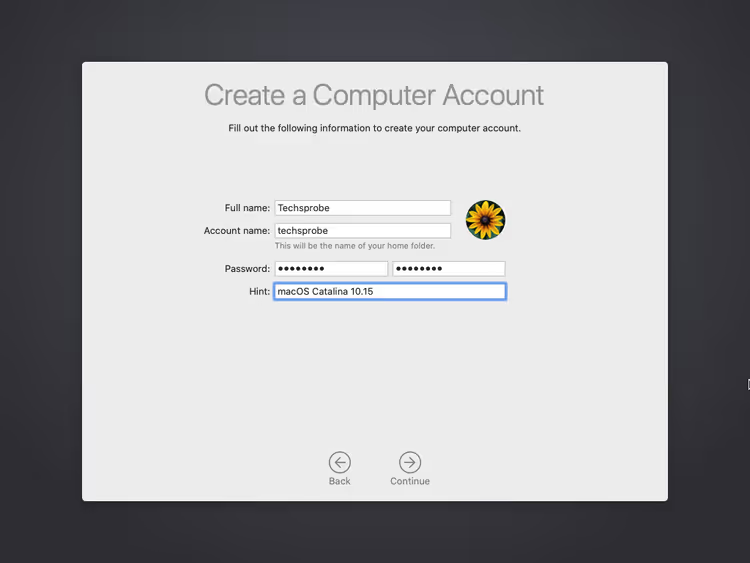
Screen 6. Computer account. Create a local user: full name, account short name, password, and a password hint.
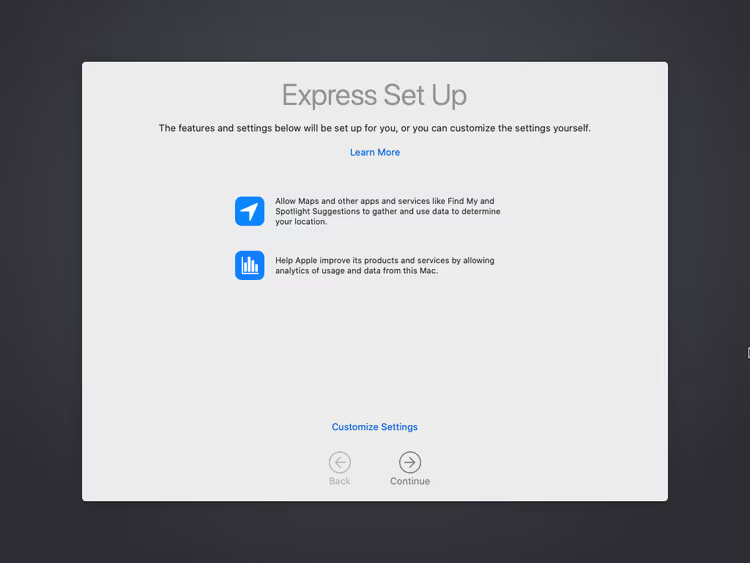
Screen 7. Express setup. The system offers to configure location services, Siri, and other features. You can accept the quick setup or configure later.
Screen 8. Analytics and diagnostics. Another request to send diagnostics. Choose "Don't send" again.
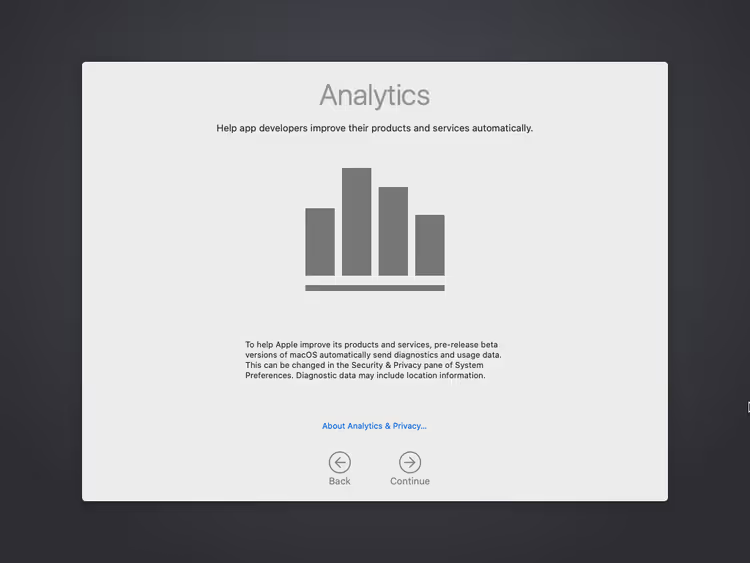
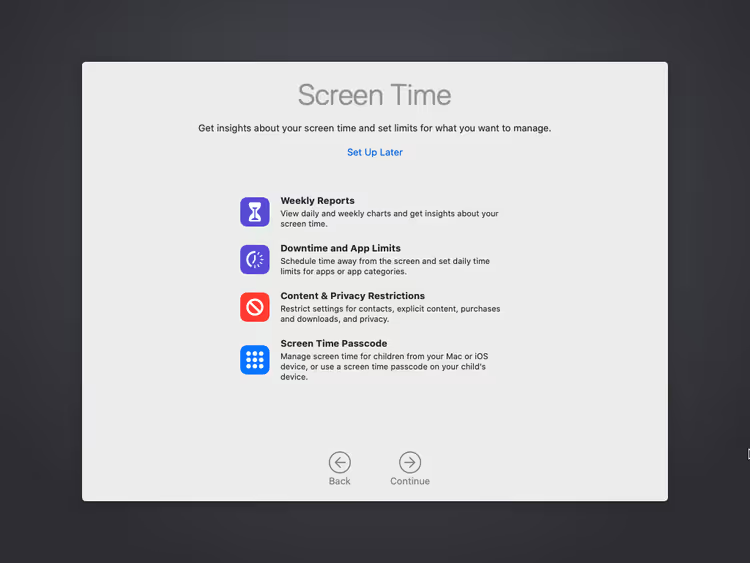
Screen 9. Screen Time. Set up Screen Time limits or skip; this is rarely needed for a virtual machine.
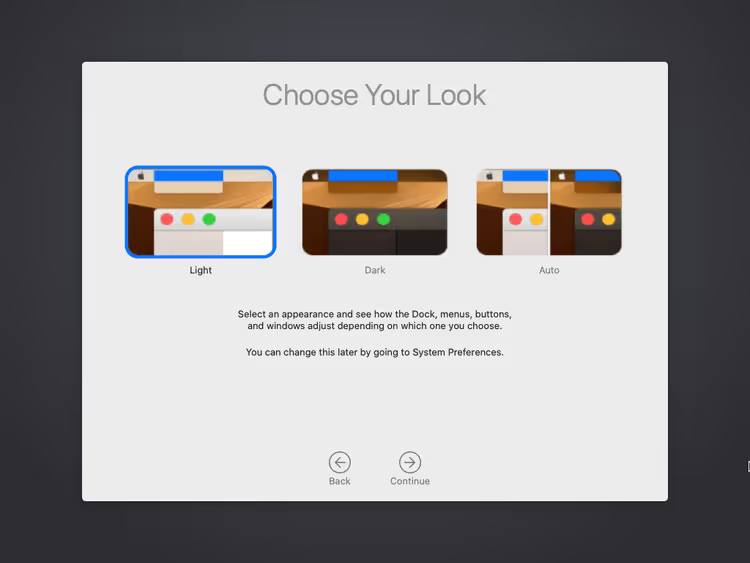
Screen 10. Appearance. Choose a light, dark, or auto theme for the interface.
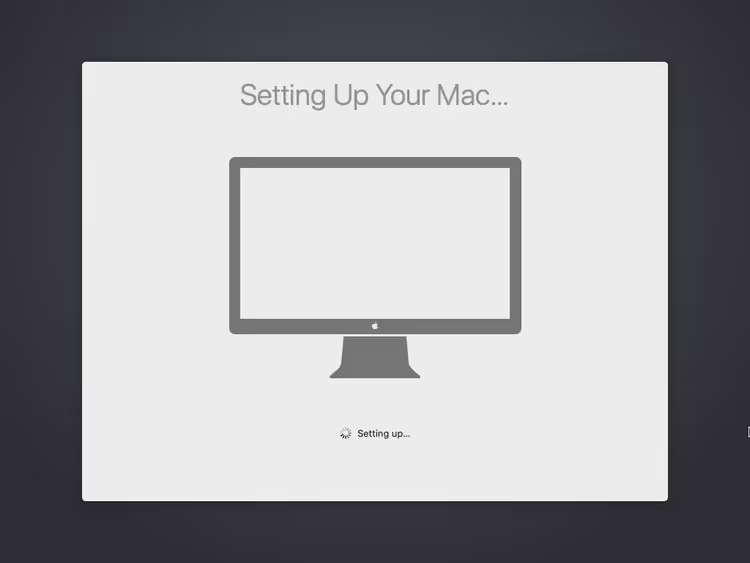
Screen 11. Setup complete. The system applies the settings; this takes about a minute.
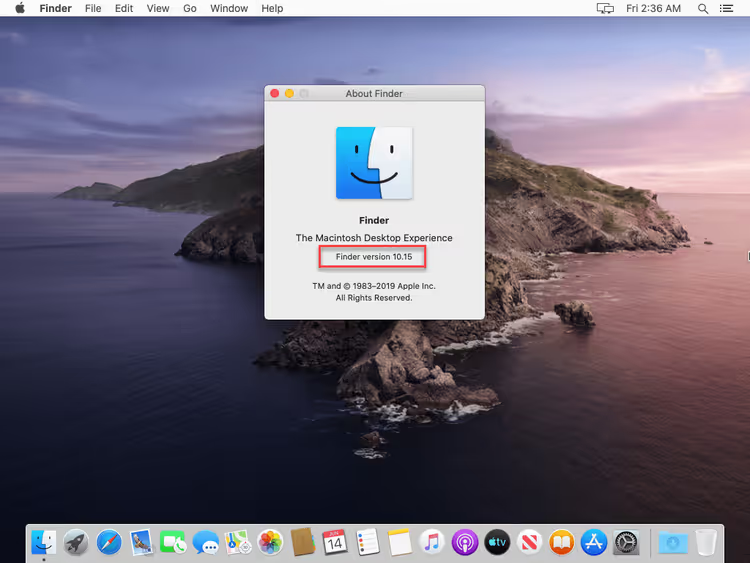
Done. Before you is a working macOS Catalina 10.15 desktop running inside VirtualBox on Windows.
⁉️🤔 Frequently asked questions
Can I install a newer version of macOS (Big Sur, Monterey, Ventura, Sonoma, Sequoia) on VirtualBox?
Yes, the general principle is the same. The differences: for Big Sur and later, you need a different image (usually in ISO format, created from the macOS installer via the terminal), and the Mac model in
DmiSystemProductshould be newer (for example,iMac18,3). For macOS 11+, consider VMware instead, as VirtualBox has issues with graphics acceleration on these versions.
Why does the "End RandomSeed" error appear after startup?
This is the most common error; it means macOS failed to pass the SMC controller check. Verify that ALL six VBoxManage commands were executed without typos, that VirtualBox was closed before running the commands, and that the virtual machine name is correct (case-sensitive and including any spaces).
The mouse and keyboard do not work in the guest macOS. What should I do?
Two reasons. First: the VirtualBox Extension Pack is not installed; download and install it (step 1). Second: USB 1.1 is selected in the USB settings instead of USB 3.0; go to "Settings" → "USB" and switch to USB 3.0 (xHCI). Then restart the virtual machine.
Can I update Catalina to a newer macOS version from inside the virtual machine?
Technically, yes, via "System Preferences" → "Software Update." But in practice, VirtualBox often does not survive major macOS updates: graphics or networking may break. We recommend creating a snapshot of the machine before attempting an update. If the goal is simply a newer macOS version, it is better to create a separate virtual machine with the corresponding clean image.
How can I speed up macOS in VirtualBox? Everything is lagging.
Allocate more RAM (4096 MB or more) and 4 CPU cores if your hardware allows. Increase video memory to 128 MB. Place the VMDK file on an SSD rather than an HDD. Disable macOS visual effects: "System Preferences" → "Accessibility" → "Display" → enable "Reduce transparency" and "Reduce motion." These three actions provide the greatest performance boost.
macOS Catalina on VirtualBox: what is next
After installation, three practical scenarios open up for you. First, testing: run macOS applications without buying a Mac. Second, cross-browser testing with Safari, which is otherwise unavailable on Windows. Third, learning: study the macOS terminal, the APFS file system, and command-line utilities without risking damage to a real device.
If something did not go as planned, go back to step 4 and check each VBoxManage command. In 9 out of 10 cases, the problem is there. Did it work? Leave a comment with your configuration; this will help future readers.

A professional team of writers and editors specializing in creating quality content.