














🚀 How to install WordPress on Google Cloud: a step by step guide
What is Google Cloud and how does it work
Google Cloud Platform (GCP) is Google's cloud infrastructure: the same servers that power Search, YouTube, and Gmail are available for you to rent. You only pay for the resources you consume, and the $300 trial credit valid for 90 days is enough for thorough testing.
The basic unit of GCP is a project. Inside it, you deploy virtual machines, storage, and applications. This is where we will install WordPress.

Key products you should know:
- Compute Engine, virtual machines (VPS). WordPress will live here.
- App Engine, a platform for running code without managing a server (PHP, Python, Java).
- Cloud Storage, object storage for files, backups, and media.
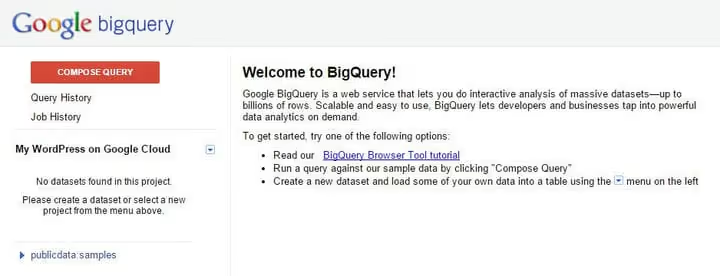
- BigQuery, big data analytics (unrelated to WordPress, but interesting).
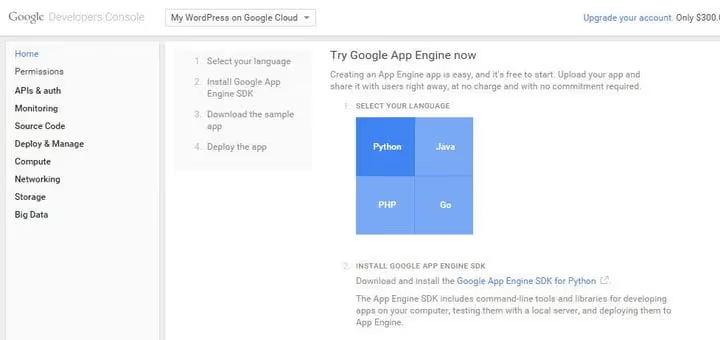
App Engine lets you run applications on PHP, Python, Java, and Go without configuring a server: you simply upload your code, and Google handles the scaling. But for WordPress we need full control, so let's move on.
Compute Engine provides virtual machines in the cloud. Each VM, or "instance," works like a dedicated server: you choose the number of vCPUs, the amount of RAM, and the disk type. WordPress will live on exactly this kind of VM.
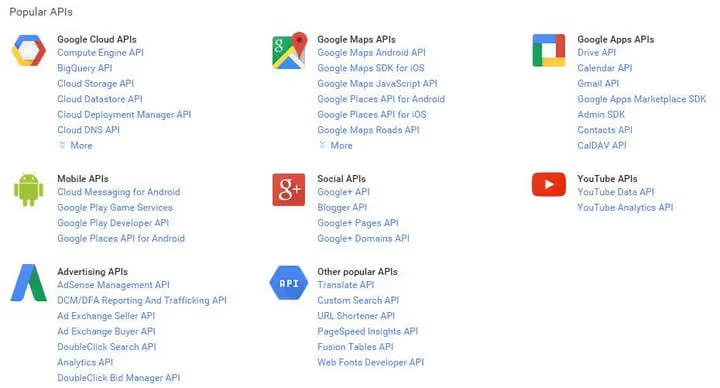
Through the Google Cloud API you can programmatically manage all project resources: create VMs, configure networking, and connect monitoring. For a manual WordPress installation you won't need the API, but it's useful to know about this capability.

Cloud Storage is object storage for files, backups, and media files. If your WordPress site grows to thousands of images, you can move them to Cloud Storage and serve them via CDN.
But enough theory. The main advantage of Google Cloud for WordPress is the ready-made image in the Marketplace. You don't configure the LAMP stack manually: select the image → machine size → region → "Deploy," and WordPress is running in 5-7 minutes. That's exactly what we'll do.
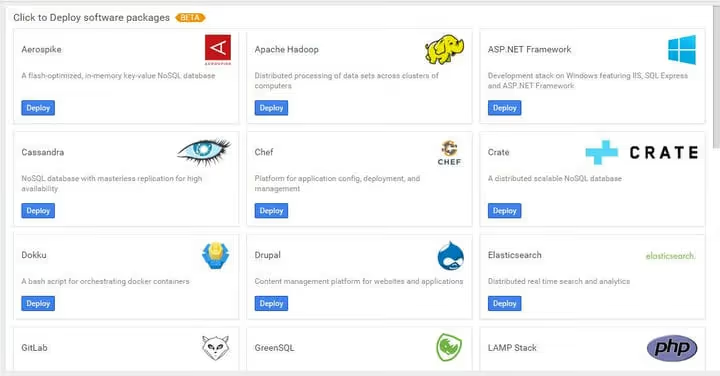
💡 Quick overview:
- Register a Google Cloud account and activate the $300 trial period for 90 days.
- Create a project and link a billing account (you can't deploy a VM without one).
- Launch WordPress through Cloud Marketplace: select machine configuration, region, and disk.
- Open HTTP/HTTPS traffic in the firewall rules and access the WordPress admin panel.
- Change passwords, configure your domain, and verify the site is working.
Step 1. Registration and project creation
The first thing to do is go to the Google Cloud Console and sign in with a Google account. If you don't have a Google Cloud account yet, the system will prompt you to register and activate the trial period.

The trial period is $300 for 90 days. Your card can only be charged after you manually switch to a paid plan. For a test WordPress installation, this is more than enough.
So, let's go to the console and create a project:

- Click "Create project" in the top panel (or open the project dropdown and select "New Project").
- Enter a name, for example,
wordpress-on-gcp. The name can only contain letters, numbers, and hyphens. - Note the Project ID (it's generated automatically), you'll need it later.
- Click "Create".

After a few seconds the project is ready, and you'll see a green checkmark and a notification.
Step 2. Billing account
Without a linked billing account, Google Cloud won't let you deploy a virtual machine. This is a required step, even if you're on the trial period.

- In the side menu, go to Billing (or click on the "Add billing account" notification).
- Select your country, accept the terms, and link a card. Google will temporarily hold $1 for verification, and the money will be returned.
- Important: Google Cloud does not accept prepaid and virtual cards. You need a debit or credit card with international transaction support.
- After linking, assign the billing account to your project.
Done. Now you can deploy WordPress.
Step 3. Launching WordPress through Cloud Marketplace
This section used to be called Deployment Manager, now it's Cloud Marketplace. Here you'll find hundreds of ready-made images: LAMP, WordPress, GitLab, MEAN stack, and others.

How to find WordPress:
- In the search bar at the top, type
WordPressand select "WordPress Certified by Bitnami" (or open Cloud Marketplace from the side menu and find WordPress manually). - On the product card, click "Launch".

Virtual machine configuration
A configuration form will open where you define the parameters of your future server:
On the launch page you'll see a "Deploy" button, and below it, a form with detailed virtual machine parameters: deployment name, zone, machine type, disk size, and administrator email. Fill in the fields according to the table below.

Parameter | What to select | Explanation |
|---|---|---|
Deployment name |
| Only letters, numbers, and hyphens |
Zone |
| Any region works for testing; for production, choose the closest to your audience |
Machine type |
| 1 vCPU + 3.75 GB RAM, the minimum sufficient for a test WordPress |
Boot disk | SSD Persistent Disk 20 GB | SSD is 5-10 times faster than HDD. 20 GB is enough for WordPress and plugins |
Admin email | your email | The administrator password will be sent here |
phpMyAdmin | ✅ Enable | A convenient web interface for working with the database |
Cloud Monitoring | ✅ Enable | Free VM load monitoring |
Click "Deploy". Google Cloud will create a virtual machine, install Debian, Apache, MySQL, PHP, and WordPress on it.
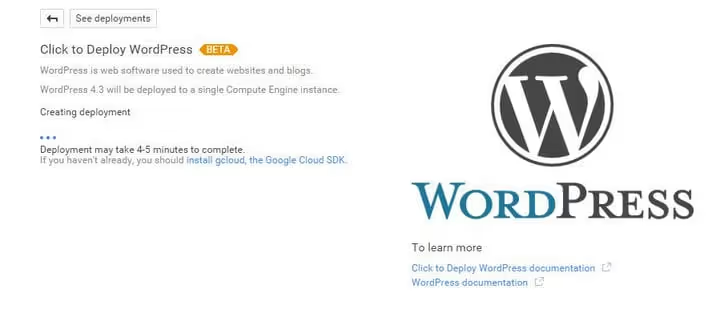
The process takes 5-7 minutes. When the deployment completes, the credentials will appear in the right panel:
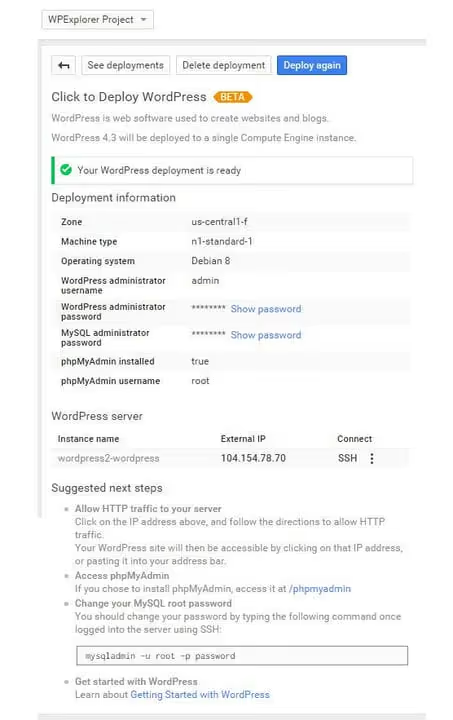
Write down:
- Admin URL, the WordPress admin panel address (usually
http://<IP-address>/wp-admin) - Admin user, the username (default is
user) - Admin password, the WordPress administrator password
- MySQL password, the database password
Step 4. Opening access to the site
By default, Google Cloud blocks incoming HTTP and HTTPS traffic. The site won't open via IP until we add a firewall rule.
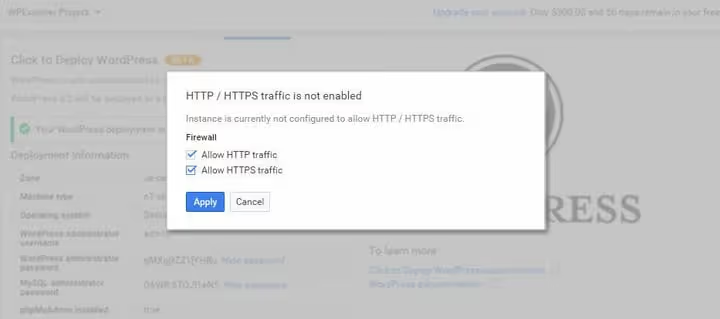
Here's how to open access to the site:
- In the side menu, go to Compute Engine → VM instances.
- Find your virtual machine and click on its external IP address.
- In the window that opens, check the boxes for Allow HTTP traffic and Allow HTTPS traffic.
- Click "Apply".
After saving the firewall rules, the site will be accessible from the internet via the external IP. Verify that the settings have been applied:

Now open a browser and paste the external IP address. You should see a standard WordPress installation:
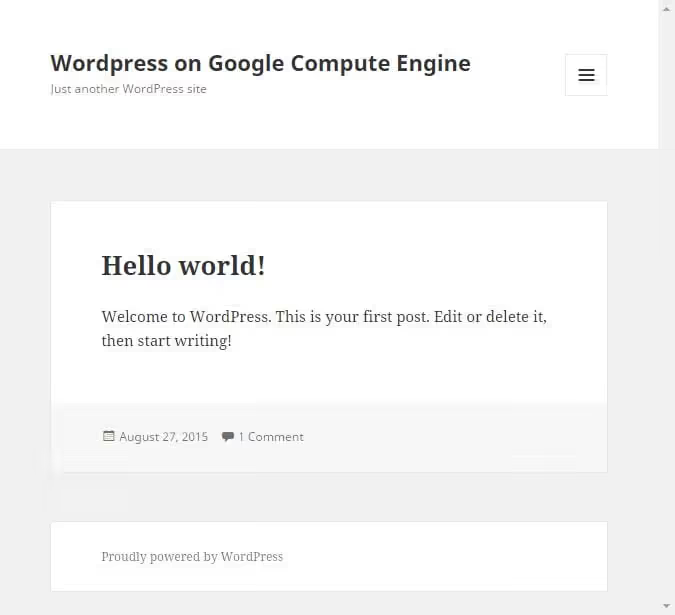
Go to the admin panel using the URL from step 3, change the administrator password, and set the site name in Settings → General. The five-minute WordPress installation isn't needed because the Bitnami script has already done everything for you.
First steps after installation
- Change the WordPress administrator and MySQL passwords to your own.
- Link a domain: in Settings → General enter your domain, and in the DNS zone add an A record pointing to the virtual machine's external IP.
- Set up SSL: the easiest way is through the free Certbot (instructions).
- Install a caching plugin (for example, WP Super Cache), which is critical on a machine with 1 vCPU.
- Set up daily backups through Google Cloud Snapshots (Compute Engine → Snapshots → Create snapshot).
⁉️🤔 Frequently asked questions
How much does WordPress on Google Cloud cost after the trial period?
The minimum configuration
n1-standard-1(1 vCPU, 3.75 GB RAM, 20 GB SSD) costs approximately $25-30/month with 24/7 operation. For comparison: shared WordPress hosting costs $3-10/month, managed cloud hosting (Cloudways) starts at $11/month. Google Cloud becomes worthwhile when you need enterprise-grade infrastructure: your own server, full root access, integration with the Google ecosystem, and the ability to scale resources at any time without migration.
Do I need to install a server control panel like cPanel?
No. The Bitnami WordPress image includes the phpMyAdmin web interface for the database and command-line utilities for managing Apache and MySQL. If you need a graphical panel, install the free CloudPanel or HestiaCP, which are designed for Debian and Google Cloud.
Can I use Google Cloud for a high-traffic WooCommerce store?
Yes, but the starter
n1-standard-1won't be suitable. For a store with 5,000-10,000 products and 50+ concurrent visitors, choosen2-standard-4(4 vCPU, 16 GB RAM) + Cloud CDN for static content. Also connect Cloud SQL instead of local MySQL, which simplifies scaling and backups.
What should I do if the site doesn't open via IP after installation?
Check three things: 1) the firewall rule for HTTP/HTTPS is added specifically to the VM where WordPress is installed; 2) in the side menu VPC Network → Firewall there is a
default-allow-httpanddefault-allow-httpsrule with IP range0.0.0.0/0; 3) Apache is running, connect via SSH and runsudo systemctl restart apache2.
How do I migrate an existing WordPress site to Google Cloud?
Make a full backup using the UpdraftPlus plugin or manually (files + database dump). On the new VM, restore the backup through the same UpdraftPlus or using
mysql -u root -p < dump.sqlandrsyncfor files. After migration, update DNS, add SSL, and verify that all URLs in the database are replaced with the new domain (Better Search Replace plugin).
Is Google Cloud for WordPress as difficult as people say?
No. The entry threshold is slightly higher than shared hosting, but the WordPress installation itself takes exactly one click, thanks to the ready-made Bitnami image. Google Cloud is worth choosing if you need enterprise-level infrastructure: your own server, full root access, integration with the Google ecosystem, and the ability to scale resources at any time without migration.
Start with the $300 trial period, which is enough for a month or two of testing. And when your project grows, the same VM scales up to n2-standard-8 with a simple machine type change and a reboot.

A professional team of writers and editors specializing in creating quality content.