













🛠 How to install WordPress on localhost: XAMPP, MAMP and WAMP
A new plugin broke the admin panel, and your client needs the fix by tonight. Or maybe you are just getting started with WordPress and are afraid to experiment on a live site. Both situations have the same solution: a local server on your own computer.
This is your personal sandbox. You can install dozens of themes, break the database, and roll back changes while no one sees a thing. When everything is ready, transfer the result to hosting in a single archive.
Below are three proven tools for running WordPress locally: XAMPP, MAMP, and WAMP. We will walk through each one step by step with full screenshots, from download to first login in the admin panel.
💡 Quick overview:
- Download and install a local server: XAMPP for Windows/Mac/Linux, MAMP for macOS, WAMP for Windows
- Create a database via phpMyAdmin and add WordPress files to the htdocs folder
- Run the five-minute WordPress installation and log in to your local site's admin panel
What is localhost and why do WordPress developers need it
Localhost is an environment on your computer that acts like a hosting provider's server. No domain purchase, no monthly fees, no internet needed during development.

When WordPress is installed locally, you get four specific advantages. First, only you see the errors; visitors never notice that the site crashed three times during an evening of testing. Second, file editing is instant: you do not wait for FTP uploads after every change to functions.php. Third, you gain deeper understanding of how WordPress works because you manually create the database and edit wp-config.php. Most importantly, it is free. You start paying for hosting only when the site is ready to go live.
Installing WordPress on a local server involves three unchanging steps, regardless of which tool you choose: set up the environment (Apache + MySQL + PHP), download the WordPress core files from wordpress.org, and run the five-minute installation by entering your database credentials. Now let us look at the specifics of each tool.
Step 1: XAMPP, a cross-platform server for Windows, Mac, and Linux
XAMPP bundles Apache, MariaDB, PHP, and Perl into a single installer. It works on all platforms, is free, and has been updated since 2003. For WordPress installation, you need two of its modules: Apache (the web server) and MySQL (the database).
Downloading and installing XAMPP
First, download the installer from the official Apache Friends website. Choose the version for your OS; builds with PHP 8.x are available.
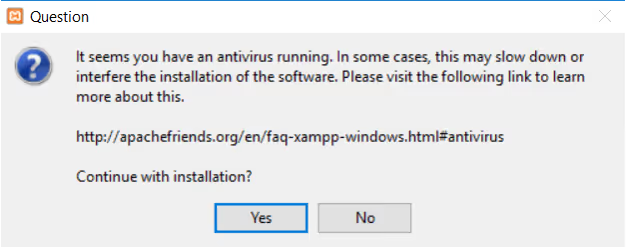
If your antivirus displays a warning, click "Yes." XAMPP does not conflict with security software, but the installer modifies system ports, which sometimes triggers a false positive.
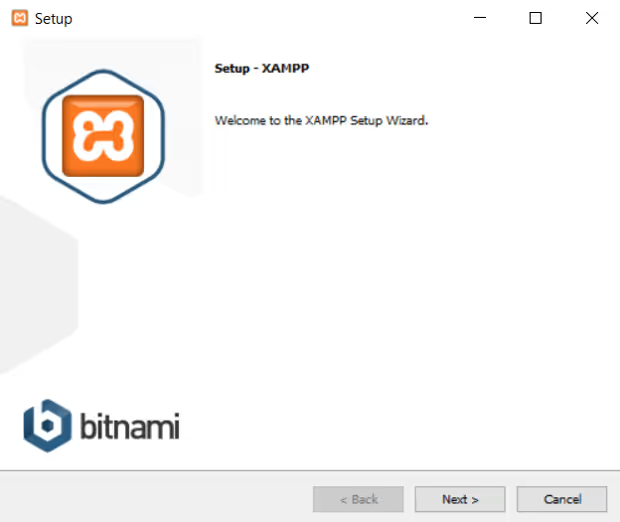
On the welcome screen, click Next.

At the component selection step, two are critical: MySQL and phpMyAdmin. Without them, WordPress will not run. You can uncheck the rest; they are not needed for local development with WordPress.
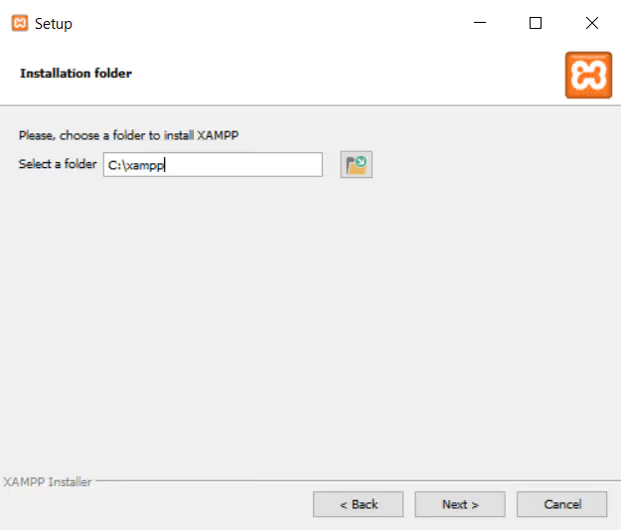
Leave the installation path at default, usually C:\xampp. This makes it easier to find the htdocs folder later.
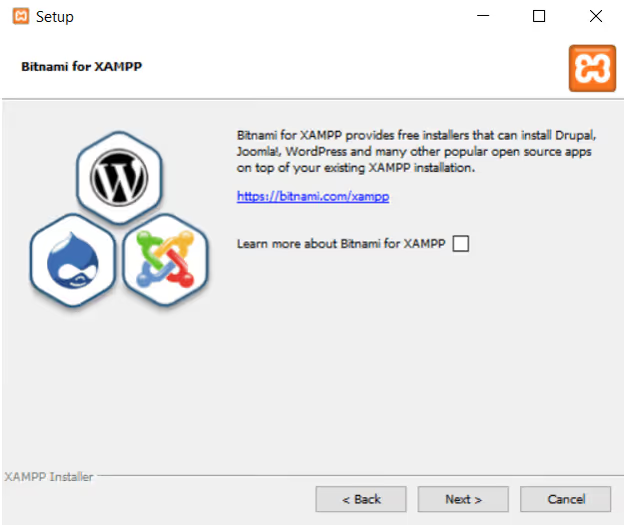
Bitnami is a separate CMS installer for Joomla, Drupal, and similar platforms. You do not need it for WordPress; uncheck the box and click Next.
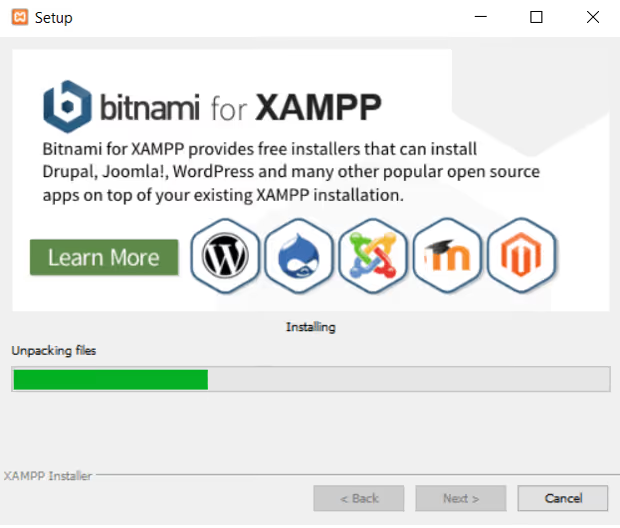
Installation takes a minute or two depending on your disk speed.
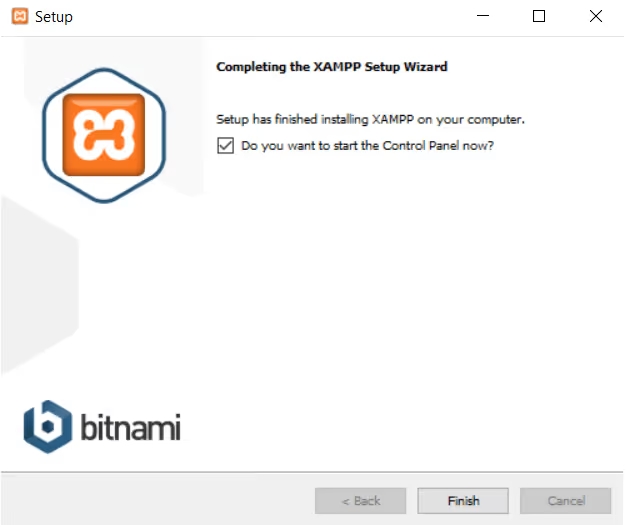
When finished, leave "Launch control panel" checked and click Finish.
Starting XAMPP and verifying it works
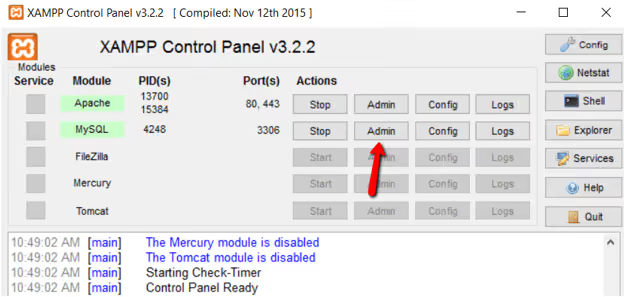
In the control panel, click the Start buttons next to Apache and MySQL.
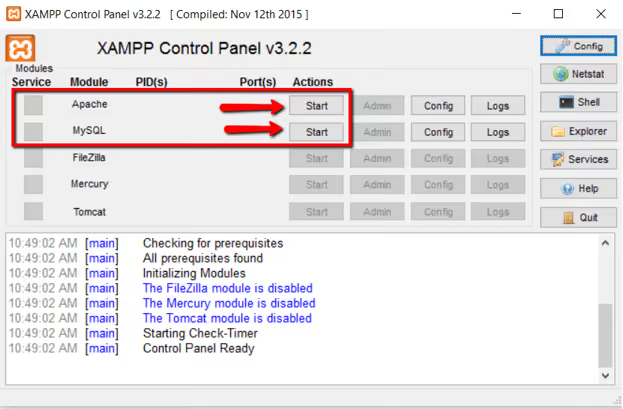
The indicators will turn green, meaning the server is running.
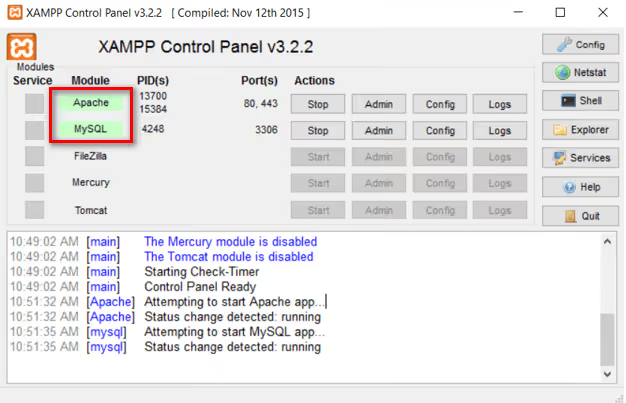
Open a browser and go to http://localhost. If you see the XAMPP welcome page, everything is set up correctly. If port 80 is occupied (for example, by Skype), XAMPP will offer to change the port during installation (usually to 8080), in which case the address will be http://localhost:8080.
Adding WordPress files and creating a database
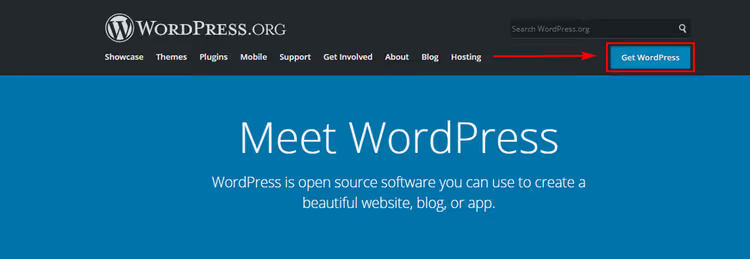
Download the latest version of WordPress from the official website.
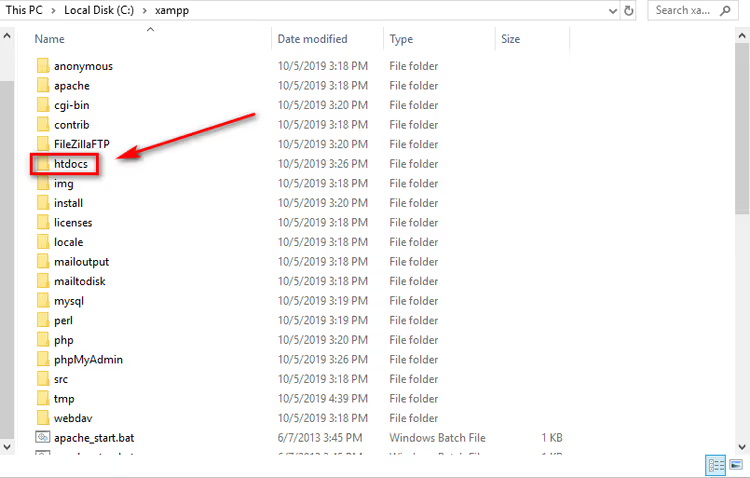
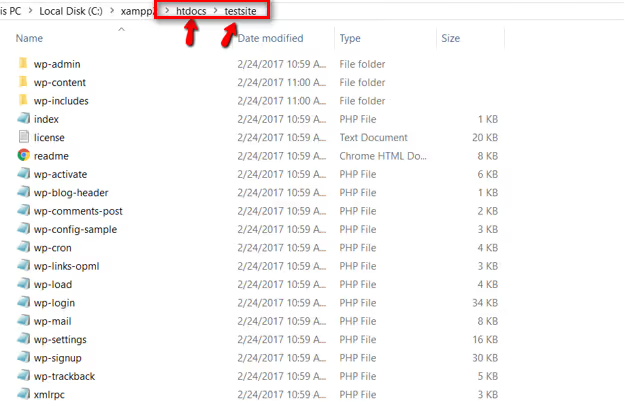
After downloading, navigate to C:\xampp\htdocs and create a new directory with your project name, for example testsite.
Extract the WordPress archive into the folder you created.
Now for the database. In the XAMPP control panel, click Admin next to MySQL to open phpMyAdmin.
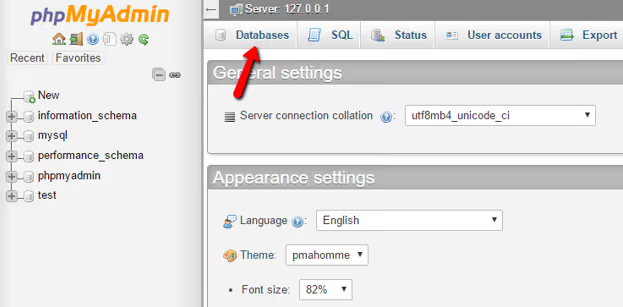
In phpMyAdmin, go to the Databases tab.
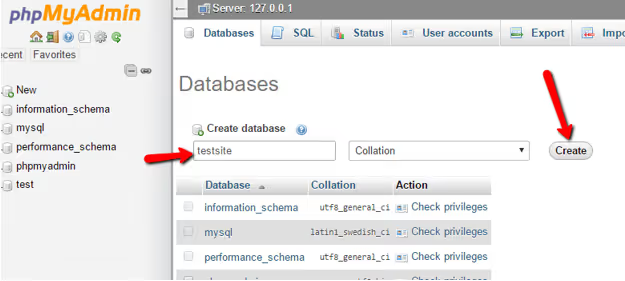
Enter a database name (Latin characters, no spaces, for example testsite_db) and click Create.
On a local server, you do not need to create a separate MySQL user; WordPress will connect as root with a blank password.
Installing WordPress
Open a browser and go to http://localhost/testsite. The WordPress installation wizard will start.
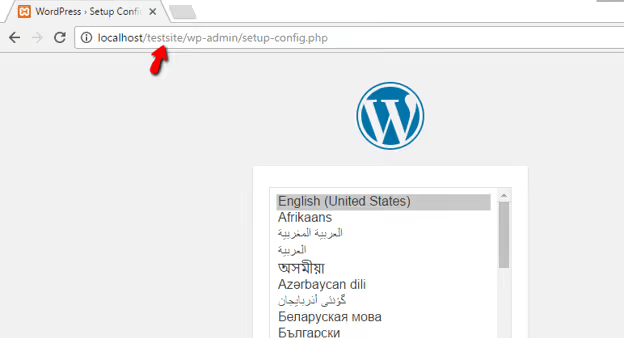
Select your language and click Continue. On the next screen, click Let's go!
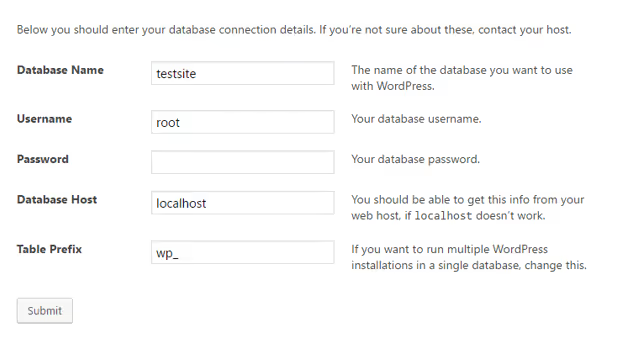
In the database connection form, enter:
- Database Name:
testsite_db(the one you created in phpMyAdmin) - Username:
root - Password: leave blank
- Database Host:
localhost
Click Submit, then Run the installation. WordPress will ask for a site title, username, password, and administrator email; fill these in and click Install WordPress.
That is it. Your XAMPP-based WordPress is ready. Access the admin panel at http://localhost/testsite/wp-admin.
Step 2: MAMP, a native server for macOS and Windows
MAMP (Macintosh, Apache, MySQL, PHP) was originally built for Mac and looks like a regular Mac application rather than a technical utility. The free version is sufficient for full-featured local development.
Downloading and installing MAMP
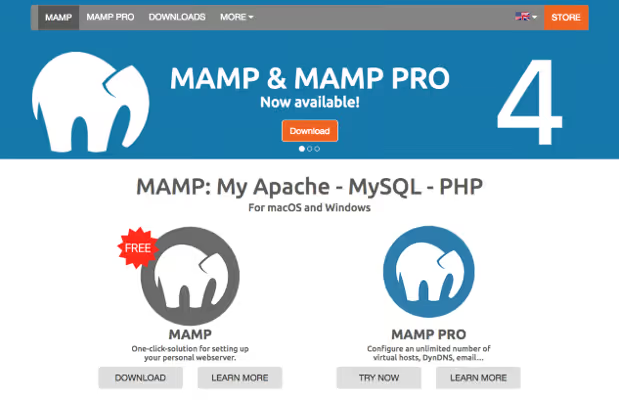
Download MAMP from the official website and select the version for your OS.
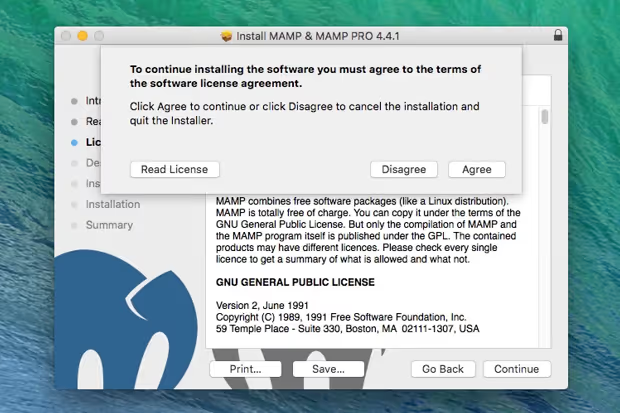
Run the installer and accept the license agreement.
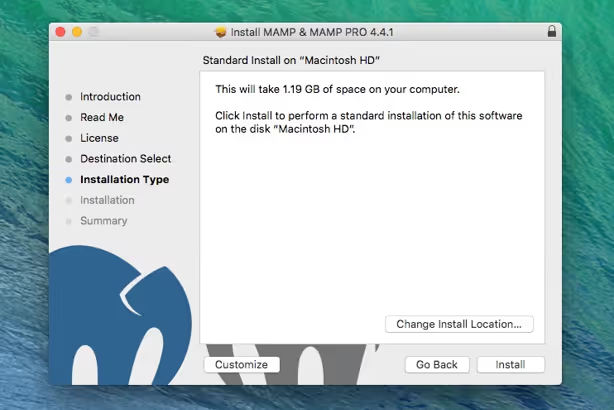
Click Install; the application will be installed to the Applications folder on Mac or your chosen directory on Windows.
Starting the server
Open MAMP and click Start Servers.
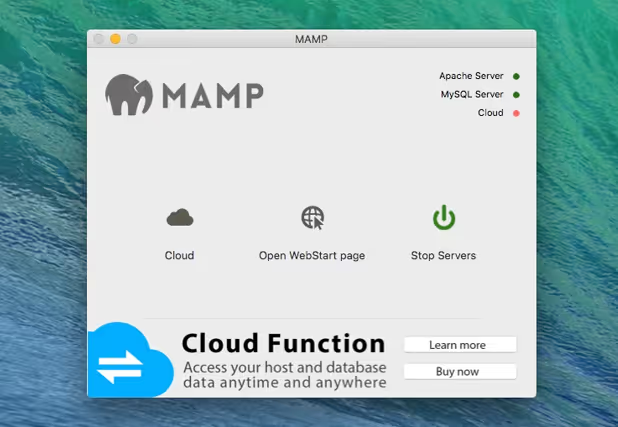
The MAMP welcome page will open automatically in your browser; the server is running. Default ports are Apache on 8888 and MySQL on 8889. To use standard ports (80 and 3306), go to Preferences → Ports and click "Set to default ports."
Creating a database and adding WordPress
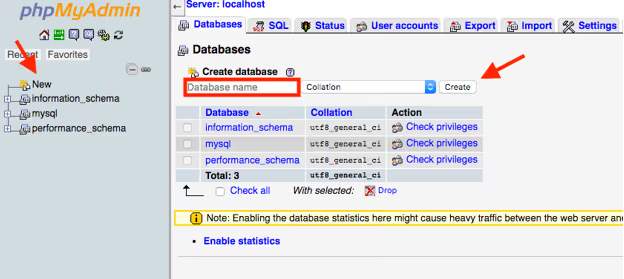
In your browser, go to localhost/phpMyAdmin. Click Databases, enter a name, and click Create.
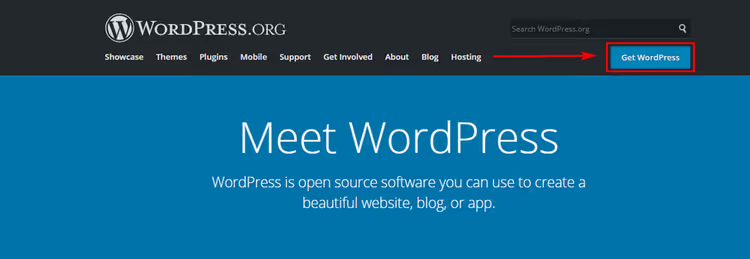
Download WordPress from WordPress.org.
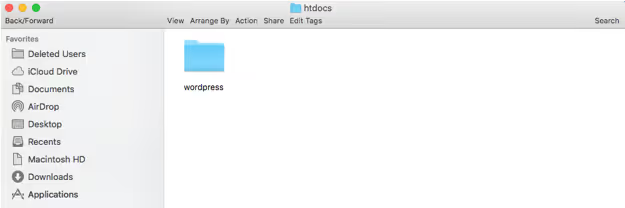
Find the htdocs folder in the MAMP directory (on Mac: /Applications/MAMP/htdocs). Create a new folder inside, for example wordpress, and extract the archive there.
Installing WordPress
Open http://localhost/wordpress (or http://localhost:8888/wordpress if you did not change the ports).
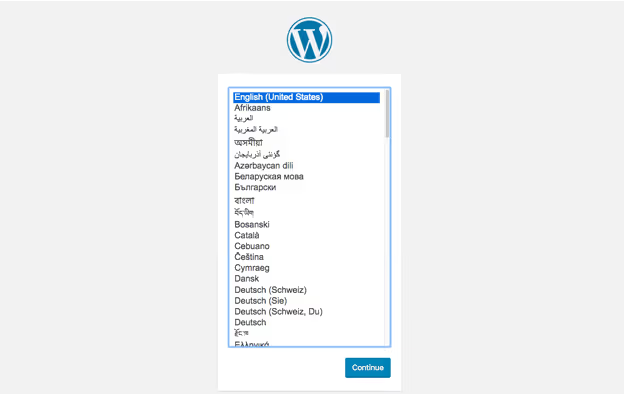
Select a language and click Continue, then Let's go!
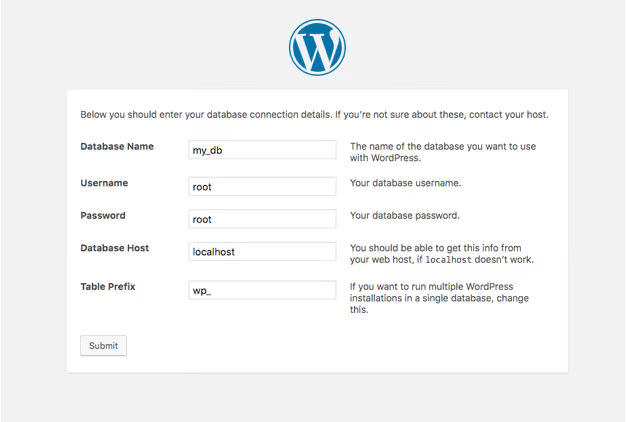
Connection details:
- Database Name: the name you created in phpMyAdmin
- Username:
root - Password:
root(MAMP usesrootas the default password, unlike XAMPP)
Click Submit, then Run the installation.
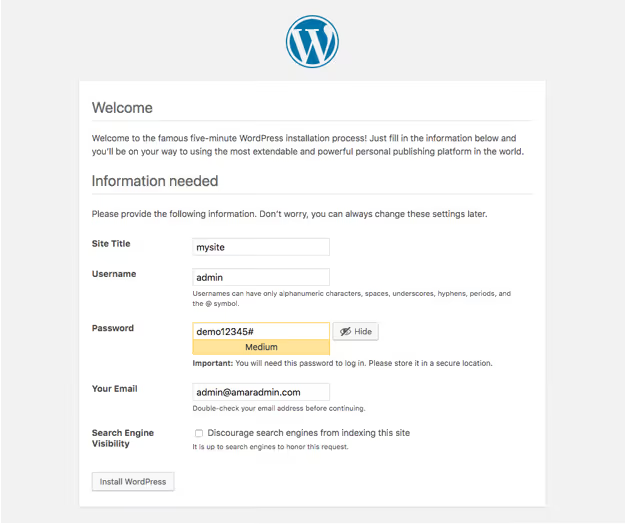
Enter a site title, administrator username and password, and an email. Click Install WordPress.
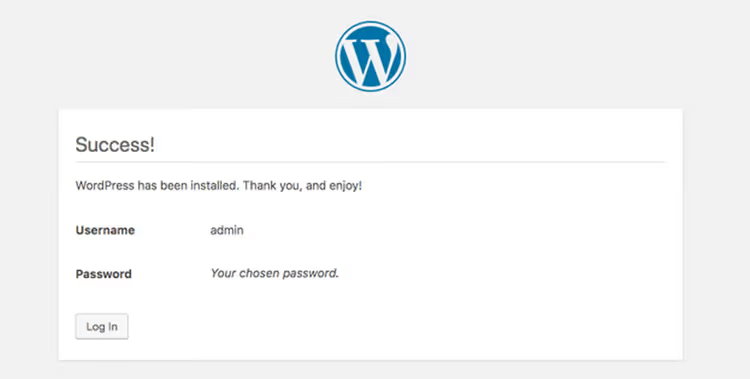
Done. The admin panel is available at http://localhost/wordpress/wp-admin.
Step 3: WAMP, Windows only
WampServer is a local server designed exclusively for Windows. If your computer runs Windows and you do not plan to move your development environment to Mac, WAMP works just as well as XAMPP.
Downloading and installing WAMP
Go to the official WampServer website and download the installer for your system architecture (32 or 64 bit).
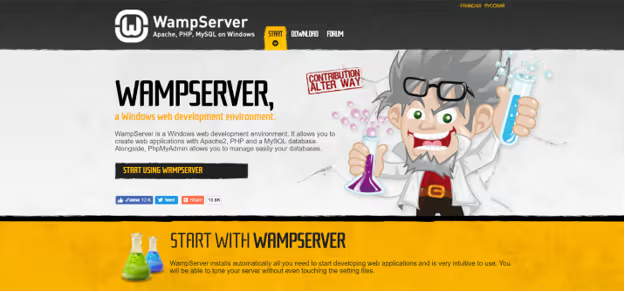
Run the .exe file. At the installation path step, leave the default value.
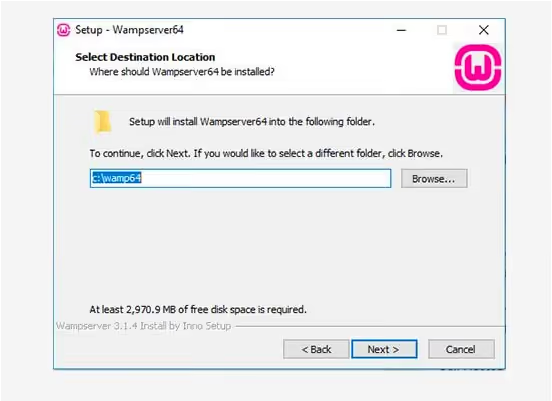
Creating a database
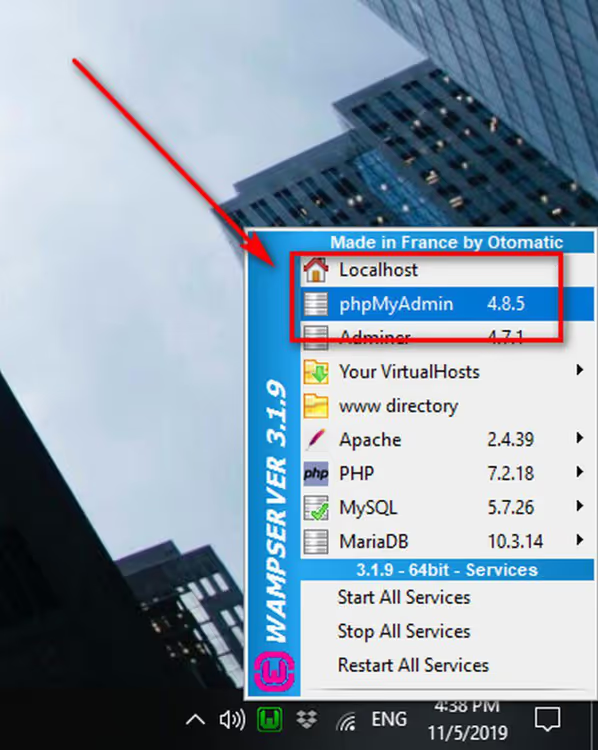
After installation, a WAMP icon will appear in the system tray. If it is green, the server is running. If it is red, click the icon and select Start All Services.
Right-click the WAMP icon and select phpMyAdmin.
In the phpMyAdmin login form, enter username root and leave the password blank. Click Go.
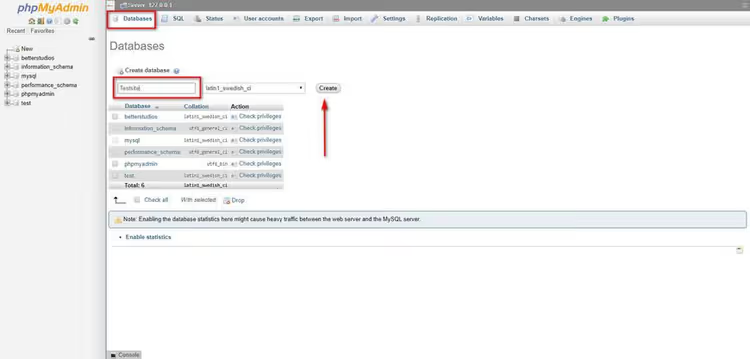
Go to the Databases tab, enter a name, and click Create.
Installing WordPress
Download WordPress from the wordpress.org website and extract the archive to C:\wamp64\www\wordpress (or the equivalent folder in your WAMP installation directory).
In your browser, go to http://localhost/wordpress. From here, the process is the same:
Enter the database name, username root, leave the password blank, and WordPress will install in a couple of minutes.
⁉️🤔 Frequently asked questions
Can I install all three servers on one computer?
No, and you do not need to. XAMPP, MAMP, and WAMP all use the same ports (80 for HTTP, 3306 for MySQL). Running two servers simultaneously will cause port conflicts. Choose one based on your OS: XAMPP for cross-platform use, MAMP for Mac, WAMP for Windows.
How does a local installation differ from live hosting?
There are two main differences. First, security: a local site is visible only to you, so you can break
wp-config.phpwithout consequences. Second, the MySQL user: on localhost you connect asrootwithout a password, while on live hosting the provider issues a separate user with a password. Otherwise, WordPress works identically.
Do I need to change the Site URL when transferring to hosting?
Yes. During local development, the URL looks like
http://localhost/testsite. After transferring to hosting, all links in the database must point to the new domain. The most reliable method is the Better Search Replace plugin: it replaces all occurrences of the old URL in the database in a single pass.
Why won't XAMPP start when the port is occupied?
Most often, port 80 is occupied by Skype or IIS (the built-in Windows web server). Solution: in the XAMPP control panel, click Config next to Apache → httpd.conf, find the line
Listen 80, and change it toListen 8080. After restarting Apache, the site will be available athttp://localhost:8080.
Should I use Local WP instead of XAMPP/MAMP/WAMP?
If your goal is to test themes and plugins without diving deep into server configuration, Local WP (formerly Local by Flywheel) handles this better. It installs WordPress in two clicks, does not require phpMyAdmin, and manages ports automatically. However, if you are learning system administration or preparing for certification, classic XAMPP/MAMP provides an understanding of the LAMP stack that will be useful on real hosting.
What to install in 2026: choosing a local server for your needs
All three tools solve the same problem, but each is tailored to a specific scenario. The choice comes down to two criteria: operating system and level of involvement.
On Windows, the safest choice is XAMPP. It is cross-platform, has a massive base of answers on Stack Overflow, and hundreds of tutorials. If something goes wrong, a solution has almost certainly already been documented.
On macOS, go with MAMP. It looks and behaves like a native Mac application: no need to manually edit port configs, everything is configured through a graphical interface. The free version is more than enough.
WAMP is a niche option. Use it if you work exclusively on Windows, have been accustomed to it for years, and have no plans to switch to Mac. In other cases, XAMPP or MAMP are more convenient.
If you want zero configuration, download Local WP. Two clicks, and WordPress is ready. It is suitable for beginners and those who need a local server running in the background for testing rather than as a subject of study.
Try one of these tools today: download XAMPP or MAMP, follow the five steps in the instructions above, and log in to your local WordPress admin panel. If you get stuck at any step, leave a comment and we will figure it out.

A professional team of writers and editors specializing in creating quality content.