













🔌 Infinite scroll in Elementor: step by step Ajax Load More setup
💡 How to set up infinite scroll in Elementor with Ajax Load More
- Install the free plugin Ajax Load More from the WordPress.org repository and activate it.
- Copy the HTML structure of a single post from the Elementor grid using DevTools and build a Repeater Template.
- In the Shortcode Builder, select "Infinite Scroll" as the Loading Style and set posts_per_page (4-6 for a 2-3 column grid).
- Add scroll_container and transition_container_classes with the CSS classes from the Elementor grid so that loaded posts inherit the styles.
- Wrap the shortcode in an HTML container with the unique elementor-element-* widget class and place the block on the page.
- Open the page on the frontend, scroll to the bottom, and verify that posts load on scroll without a page refresh.
What you will need
Before you begin, make sure two things are installed and activated on your site:
- Elementor (free version or Pro), the builder where your post grid is created.
- Ajax Load More, a free plugin for loading content via AJAX. Download from WordPress.org
Also keep the official documentation and the examples page handy. There are dozens of ready-made snippets for different scenarios: from standard posts to WooCommerce and ACF.
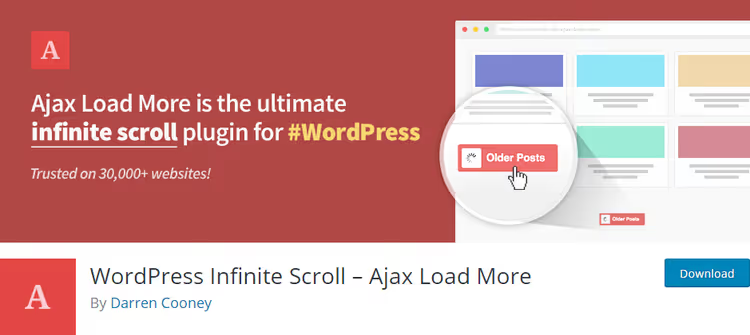
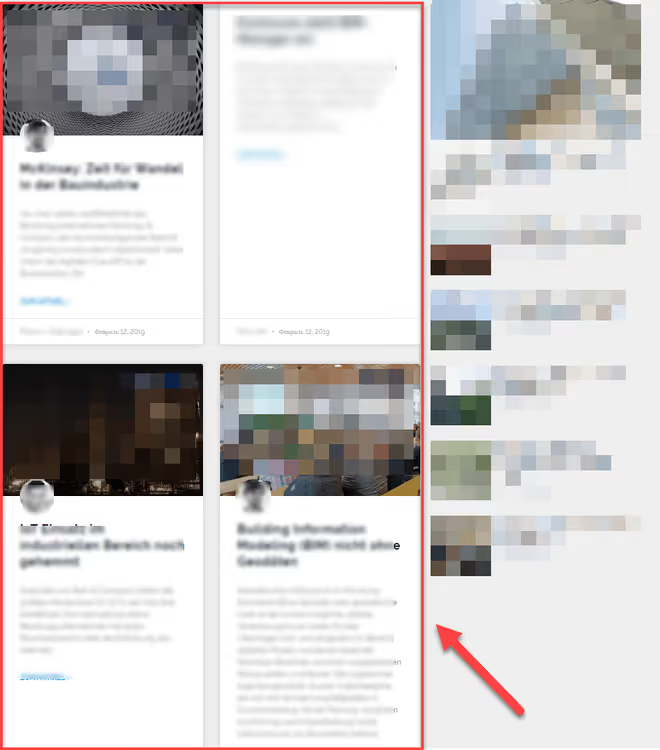
The built-in Posts widget in Elementor only offers numbered pagination; neither the free nor Pro version can load posts on scroll. Ajax Load More fills this gap: it adds infinite scroll, a "Load More" button, and lazy load while preserving the grid's appearance. The key is a correct Repeater Template. Once you build it, loaded posts are visually indistinguishable from those already on the page.
The short video above shows the integration in action: Elementor posts load seamlessly without page refreshes or layout jumps.
Step 1: Building a Repeater Template for the Elementor grid
The most important part is correctly transferring the HTML structure of a single post from Elementor into the Ajax Load More template. If the template does not match the actual layout, loaded posts will "fall apart": margins will shift, cards will disappear, and the grid will break.
Open the page with the grid in your browser, press F12 (DevTools), go to the Elements tab, and find the DOM node of a single post. You need the FULL HTML of one element, from the opening <article> or <div class="elementor-post"> to the closing tag.
A basic template for an Elementor grid (two columns, Cards skin) looks like this:
1 <article class="elementor-post elementor-grid-item post-<?php the_ID(); ?>"> 2 <div class="elementor-post__card"> 3 <a class="elementor-post__thumbnail__link" href="<?php the_permalink(); ?>"> 4 <div class="elementor-post__thumbnail"> 5 <?php if (has_post_thumbnail()) { 6 the_post_thumbnail('alm-thumbnail'); 7 } ?> 8 </div> 9 </a> 10 <div class="elementor-post__text"> 11 <h3 class="elementor-post__title"> 12 <a href="<?php the_permalink(); ?>"><?php the_title(); ?></a> 13 </h3> 14 <div class="elementor-post__excerpt"> 15 <?php the_excerpt(); ?> 16 </div> 17 <a class="elementor-post__read-more" href="<?php the_permalink(); ?>"> 18 Read more » 19 </a> 20 </div> 21 <div class="elementor-post__meta-data"> 22 <span class="elementor-post-date"> 23 <?php the_time('d.m.Y'); ?> 24 </span> 25 </div> 26 </div> 27 </article> 28
Save the template in the admin panel: Ajax Load More → Repeater Templates, click "Add New". Give it a meaningful name, for example, "Elementor Grid 2 Columns".
What to pay attention to:
- The classes
elementor-post,elementor-post__card, andelementor-post__thumbnailare "native" Elementor classes. They ensure that loaded posts visually match the original grid. the_post_thumbnail('alm-thumbnail')uses the thumbnail size registered by the Ajax Load More plugin. If your theme has a custom size registered, replacealm-thumbnailwith it.<?php the_ID(); ?>in the<article>class gives each post a unique identifier, useful for CSS targeting.
Important: classes may differ depending on the Posts widget skin (Classic, Cards, Full Content). Take the classes FROM YOUR OWN markup rather than copying the code above as-is. Everything must match, including order and spacing.
Step 2: Building the Ajax Load More shortcode
Go to Ajax Load More → Shortcode Builder. The visual builder will generate a shortcode based on your parameters:
- Post Type:
post(or your custom post type). - Posts per Page: how many posts to load per iteration. For a 2-3 column grid, use 4-6.
- Loading Style:
Infinite Scroll(endless scrolling). Alternatives: "Load More" button, lazy load. - Container Type:
div. - Transition: animation for new posts: Fade, Slide, or None.
A basic shortcode will look something like this:
1 [ajax_load_more post_type="post" posts_per_page="4" 2 loading_style="infinite classic" 3 container_type="div" 4 scroll="true" 5 transition="fade" 6 button_label="Loading..."]
For integration with Elementor, two additional parameters are critical: scroll_container and transition_container_classes. They "bind" the Ajax Load More output to the Elementor CSS grid:
1 [ajax_load_more post_type="post" posts_per_page="4" 2 scroll_container="elementor-grid-2" 3 transition_container_classes="elementor-posts-container elementor-posts elementor-grid elementor-posts--skin-cards elementor-has-item-ratio" 4 loading_style="infinite classic" 5 images_loaded="true" 6 offset="2"]
Key parameters explained:
scroll_container="elementor-grid-2"is the two-column grid container. For three columns, change toelementor-grid-3; for four, useelementor-grid-4.transition_container_classes="..."includes ALL CSS classes of the grid container copied from DevTools. Without them, loaded posts will not inherit Elementor styles and will display as a plain list.images_loaded="true"waits for images to fully load before displaying a new block. This eliminates layout jumps during loading.offset="2"skips the first N posts. This is necessary if some posts are already displayed by the standard Elementor widget (see step 4).
Step 3: HTML wrapper for the shortcode
Ajax Load More requires the shortcode to be inside an HTML container that replicates the Elementor grid structure. Without the wrapper, the grid styles will not apply and the magic will not work.
1 <div class="elementor-element-6ba59dc elementor-posts--skin-cards"> 2 <div class="elementor-posts-container elementor-posts elementor-grid elementor-has-item-ratio"> 3 [ajax_load_more post_type="post" posts_per_page="4" 4 scroll_container="elementor-grid-2" 5 transition_container_classes="elementor-posts-container elementor-posts elementor-grid elementor-posts--skin-cards elementor-has-item-ratio" 6 loading_style="infinite classic" 7 images_loaded="true" 8 offset="2"] 9 </div> 10 </div>
The class elementor-element-6ba59dc is the unique identifier of YOUR Posts widget. Find it in DevTools (it always starts with elementor-element- and ends with a hash). This class carries all the styles applied to the widget in the Elementor editor: margins, shadows, border radii, and card colors.
Step 4: Preserving the grid's CSS styles
If you simply delete the Posts widget and leave only the Ajax Load More shortcode, all styles generated by Elementor will disappear from the page's <head>. The grid will break instantly.
A working approach: leave the Posts widget on the page with a minimal number of posts (2-3), and set offset="2" in the Ajax Load More shortcode. This way:
- Elementor generates CSS for the first two posts, so the styles remain in the page body.
- Ajax Load More picks up the remaining posts starting from the third, with the same classes and styles.
This approach has one downside: whenever you change ANY setting on the Posts widget in the Elementor editor, the unique elementor-element-* class is regenerated. You need to update it in the HTML wrapper. It takes 30 seconds via DevTools, but you cannot forget about it.
Step 5: Placing it on the page
Add the HTML wrapper with the shortcode using the "Shortcode" or "Text Editor" widget in Elementor; both accept HTML. Place the block where the Posts widget was or would be located.
Save the page and open it on the frontend. Scroll to the bottom. Posts should start loading automatically as soon as the scroll reaches the container.
If it does not work, here are three quick checks:
- Browser console (F12 → Console): red JavaScript errors will indicate plugin conflicts or broken shortcode syntax.
- scroll_container class: compare it to the actual CSS class of the container on the page. Even a single character error (for example, a space instead of a hyphen) breaks the scroll trigger.
- Ajax Load More → Settings: make sure the plugin is active and not blocked by a caching plugin (WP Rocket, W3 Total Cache). Ajax requests sometimes get cached, so add
/wp-admin/admin-ajax.phpto the exclusions.
⁉️🤔 Frequently asked questions
Does this work with the free version of Elementor?
Yes. Ajax Load More does not depend on Elementor Pro. It only needs the HTML structure of the grid, which the free version provides. Copy the classes via DevTools and build the template; no Pro features are required.
Can you load custom post types instead of just posts?
Yes. In the shortcode, specify
post_type="your_cpt". Ajax Load More works with any public post types: standard posts, pages, WooCommerce products, portfolio items, and so on. Each type needs its own Repeater Template.
Loaded posts look different from the original grid. What is wrong?
The problem is almost always in
transition_container_classes: you copied incomplete classes or made a mistake in one of them. Open DevTools, find the original grid container, copy the full class string, and paste it into the shortcode. The second most common issue:scroll_containerpoints to the wrong element.
Are Ajax Load More Premium add-ons required for a basic setup?
For infinite scroll on posts, no. The free version is sufficient. Premium add-ons (Elementor Widget Connector, Single Posts, WooCommerce, SEO, Filters) extend the scenarios: infinite scroll within single posts, filter integration, SEO pagination with unique URLs. If your project grows and you need these features, look into the Pro Bundle.
Why do grid styles "disappear" from loaded posts after edits in Elementor?
Every time you save the Posts widget, Elementor regenerates the unique
elementor-element-*class. Find the new class in DevTools and replace it in the shortcode's HTML wrapper. There is no way to automate this out of the box; you have to do it manually. However, it only takes about 30 seconds.
Should you wait for native infinite scroll from Elementor?
In the six years since the first guides on this topic were published, the built-in Posts widget in Elementor still has not received infinite scroll in either the free or Pro version. Numbered pagination remains the only option for archives and post grids.
Ajax Load More fills this gap completely and then some. The plugin is actively developed: it has 200,000+ active installations on WordPress.org, regular updates (the last one less than a month ago at the time of writing), and over a dozen add-ons for different scenarios. The free version handles infinite scroll, a "Load More" button, lazy load, and custom Repeater Templates. This covers most Elementor projects.
If Elementor powers the post grid on your site and your visitors need infinite scroll, build the Repeater Template following the instructions above. Half an hour for the initial setup, and posts will load without a page refresh.

A professional team of writers and editors specializing in creating quality content.