














🛠 How to create a staging site for WordPress: 5 methods
You update a plugin on a live site and see a white screen. Clients are calling, orders are not coming through, and you are frantically searching for a backup that does not exist. Sound familiar?
The problem is not with WordPress and not with your skills. The problem is the lack of a testing environment. A staging site is an exact copy of your project where you can break things, experiment, and test updates without risking the production site. Changes are visible only to you. The live site keeps running smoothly.
Below are five working methods to set up staging for WordPress: from a couple of clicks in your hosting panel to manual server configuration. By the end of this article, you will know exactly which method suits your budget, skills, and project type.
💡 Quick overview:
- Built-in hosting staging is the fastest way: a couple of clicks, works out of the box with WP Engine, Kinsta, Cloudways, SiteGround, Bluehost.
- Local tools (Local by WP Engine, XAMPP, DevKinsta) are free with full control, but you need to download and configure the environment on your computer.
- Manual setup via FTP, database, and wp-config.php offers maximum flexibility but requires solid server-side knowledge.
- Staging plugins (WP Staging, WPvivid, Duplicator) offer quick installation directly from the admin panel and are suitable for small and medium projects.
- A separate test hosting account provides an isolated environment on another server, ideal for critical changes, but costs money and requires manual migration.
1. Built-in hosting staging
The simplest path is to use the tool already built into your hosting provider's panel. Most managed WordPress hosting providers offer staging functionality out of the box.
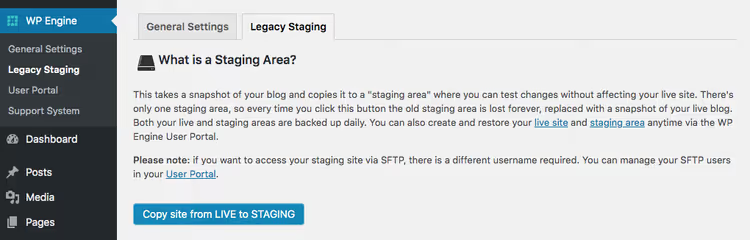
Here is where staging works right now:
- WP Engine offers three environments (development, staging, production), one-click transfer, and built-in backups.
- Kinsta provides free staging on all plans, production cloning in a minute, and the ability to push only files or only the database.
- Cloudways offers a staging environment through application cloning that works on all five cloud providers.
- SiteGround has a Staging tool in Site Tools, available on GrowBig plans and higher.
- Bluehost has staging built into the panel for Choice Plus plans and higher.
The process is roughly the same everywhere: you go to the hosting panel, select the site, click "Create staging," and within a minute you get a complete clone. After testing, changes are pushed to production with one button.
This is the fastest and safest method. Nothing to download or configure. The only downside is that not all hosts have this option. If your provider does not offer staging, move on to the following methods.
2. Local testing tools
If your hosting does not provide staging out of the box, the next most convenient option is a local environment. You install a program on your computer, import the site, and get a complete copy you can do anything with.
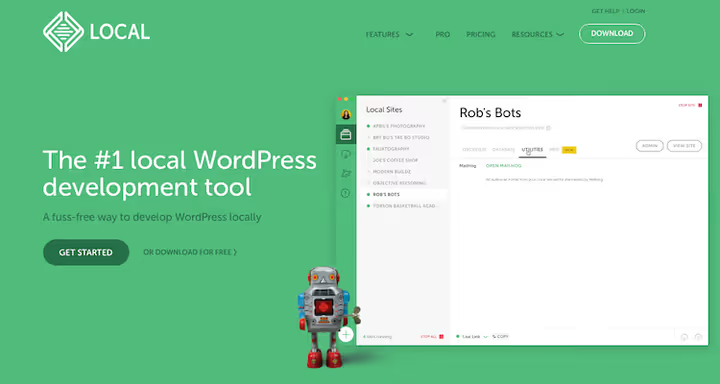
The main tool here is Local by WP Engine. It is free and works on Windows, macOS, and Linux. It supports PHP 8.x, offers Nginx and Apache options, and automatically sets up local SSL. If your site is on WP Engine or Flywheel, you can push changes directly from Local to production.
Alternatives for more technical users:
- DevKinsta is a free tool from Kinsta designed for Docker that works with any hosting.
- XAMPP is a classic LAMP/WAMP stack with maximum manual control, suitable if you have already worked with Apache and MySQL.
The workflow with Local looks like this: download and install the program, make a site backup using a plugin like BackWPup or Duplicator for backup, download the archive, and drag it directly into the Local window. The program will unpack the archive, set up the database, and in a couple of minutes deliver a ready local site.
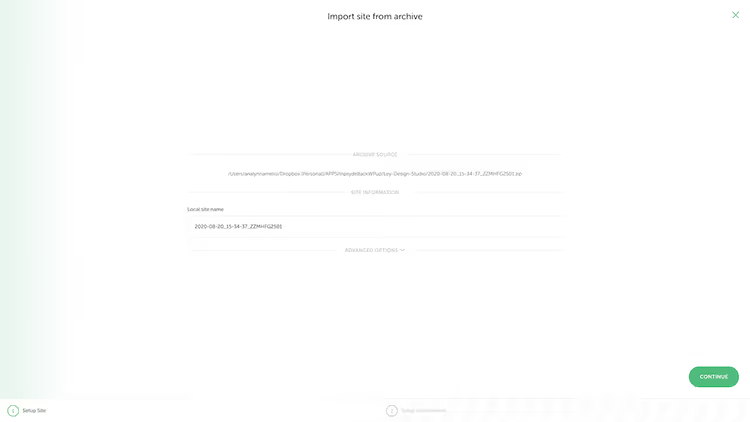
After testing, changes need to be transferred back manually: either through export from Local and upload via FTP, or through direct connection to WP Engine/Flywheel. This is slower than one-button push from hosting, but still reliable and free.
3. Manual creation via FTP and database
This method is for those who are not afraid of the command line and want full control over the process. You manually copy files and database from production to a new server, subdomain, or subdirectory.
Placement options:
- subdirectory of the main site (
example.com/staging/); - subdomain (
staging.example.com); - local server (WAMP, LAMP, XAMPP, MAMP).
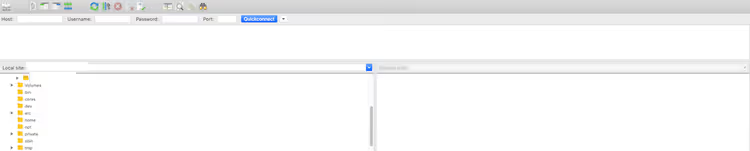
Step-by-step algorithm:
- Download all site files via FTP (the FileZilla client is free and proven).
- Export the database through phpMyAdmin or WP-CLI (
wp db export). - Create a new database and user with admin privileges on the target server.
- Open the
wp-config.phpfile and enter the new connection parameters: database name, user, password, and host. - Upload files to the new server and import the database.
- Replace all mentions of the old domain with the new one in the database; WP Migrate DB or the
wp search-replacecommand is convenient for this.

The most common pitfall is serialized data. If you simply replace the domain via an SQL query UPDATE, themes and plugins may break. Therefore, always use WP Migrate DB, Duplicator, or WP-CLI, as they handle serialization correctly.
The method is labor-intensive but offers maximum flexibility. You decide where and how to deploy the copy. Suitable if standard hosting tools do not work for you or you need a test environment with a special server configuration.
4. Staging plugins
A quick way to create a site copy directly from the WordPress admin panel, without FTP, without hosting panel, and without command line.
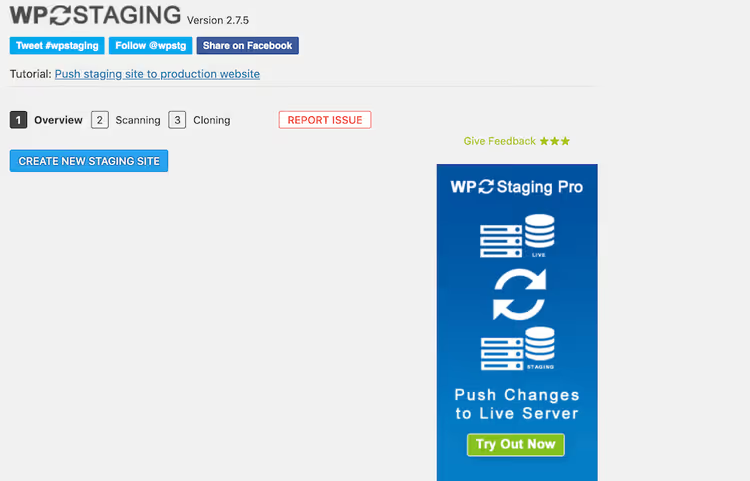
The most popular tool is WP Staging. The basic version is free and can clone a site into a subfolder of production. The Pro version adds a separate database, selective push of changes, and transfer between servers. Installation: Plugins → Add New, search "WP Staging," install, activate. Then one button "Create staging site," and in a couple of minutes the copy is ready.
Alternatives worth considering:
- WPvivid Backup & Migration is free and can handle backups, staging, and migration to another host.
- Duplicator is a migration classic that also works for creating staging copies.
- All-in-One WP Migration offers simple export-import with a 512 MB limit in the free version.
Plugins work well for small and medium projects. On large sites (tens of gigabytes of files, hundreds of thousands of database records), they may hit PHP memory limits and timeouts. There it is better to use the hosting method or manual setup with WP-CLI.
5. Separate test hosting account
The last method is to buy a separate hosting plan specifically for testing. You get a completely isolated environment on another server with a separate domain or subdomain.
The sequence is the same as with manual setup: export files, export database, create new database on test hosting, edit wp-config.php, import, and search-replace the domain.
This makes sense in two cases. First, you are making critical changes and want complete isolation from production. Second, you are testing migration to another host and need to check compatibility before the actual move.
The downside is obvious: you pay for a second hosting plan. But if an error on production costs more than the subscription fee for a test server, the method pays for itself.
⁉️🤔 Frequently asked questions
How does a staging site differ from a local copy?
A staging site usually lives on the same server as production and is as close to it as possible in terms of environment (PHP version, MySQL configuration, server software). A local copy is on your computer, where the environment is almost certainly different. Staging more accurately simulates real conditions, so it is better for testing critical updates.
Is staging necessary for small blogs?
Technically no. But even on a small blog, one failed plugin update can take down the site. If the site brings you money or traffic, a staging environment pays for itself with the first failure it prevents. For a non-commercial hobby project, you can limit yourself to a manual backup before each update.
How often should staging be synchronized with production?
Before each testing cycle. If you accumulated a month of content on the live site and then pushed changes from an old staging, you risk losing new articles, orders, and comments. A good habit: create fresh staging, test, schedule a push window, make another fresh staging, and push immediately.
Can staging be used for A/B testing or showing to a client?
Technically yes, staging is a full copy of the site. But for showing to a client, it is better to use a theme demo mode or a separate demo installation. For A/B testing, there are specialized plugins (Nelio AB Testing, Split Hero) that work on production and correctly collect statistics.
What should I do if the site still breaks after pushing from staging to production?
Roll back to a backup. Before each push, make a full backup of the live site: files plus database. Most hosts do this automatically when pushing. If not, use a backup plugin or WP-CLI. The backup should be in an easily accessible place and tested for restoration. An untested backup equals no backup.
Is staging worth the effort in 2026?
Short answer: yes. Here is why. First, automatic WordPress and plugin updates have become more aggressive: minor versions arrive without your knowledge and sometimes break compatibility. Second, prices for hosting with built-in staging have dropped to 5-10 dollars per month, which is comparable to the cost of one hour of work from a developer you would call to fix a crashed site.
If you have managed hosting, enable staging in the panel; it takes two minutes. If not, install Local by WP Engine; it is free and beginner-friendly. For technically proficient users, manual setup with WP-CLI and Git works well; you get precise control over the process. For intermediate cases, there are WP Staging and similar tools.
The main thing is to start setting up staging before you need it. Because when the white screen is already in front of you, setting up a test environment turns from prevention into resuscitation.

A professional team of writers and editors specializing in creating quality content.