













 AIIllustrative image: AI-generated
LearnDash for WordPress: how to create an online training course
Want to launch an online course on WordPress and don't know where to start? There are dozens of online learning platforms out there: Teachable, Kajabi, Thinkific. But they all take a percentage of your sales and store your content on their servers.
Your own site on WordPress with LearnDash gives you full control over your course, zero sales commission, and unlimited customization options. The only barrier is that the initial setup seems complicated to beginners.
Below is a step-by-step guide: from installing the plugin to accepting payments. After reading it, you'll launch your first course in an evening, even if you've never worked with an LMS before.
💡 Quick overview:
- Purchase and install LearnDash on your WordPress site
- Create the course structure: lessons, topics, quizzes
- Set up pricing and course access type
- Add questions and passing score for quizzes
- Connect Stripe Connect or PayPal to accept payments
What is LearnDash and who is it for
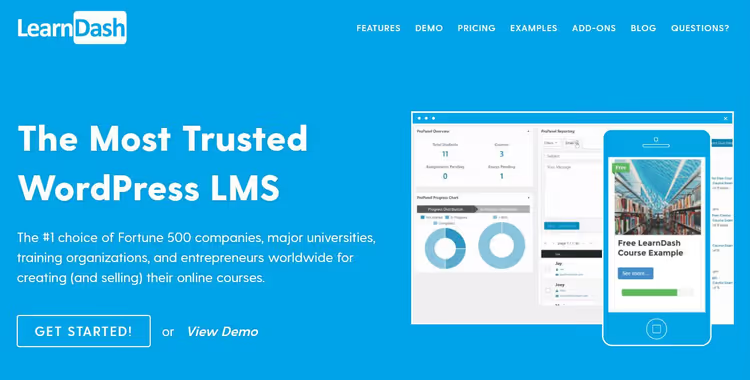
LearnDash is a premium WordPress plugin for creating and selling online courses. It works with any WordPress theme and supports multisite. Unlike cloud-based LMS platforms, LearnDash installs directly on your site: you own the content, student data, and payment settings.
Who should use LearnDash:
Educational projects: schools, universities, online academies. The plugin supports unlimited courses, student groups, and instructors. If you need a ready-made LMS theme, we have a collection of 35+ WordPress themes for education.
Companies for employee training: private courses with group manager assignments, progress tracking, and certification.
Freelancers and developers: clients often ask to "build a site with courses." LearnDash provides ready-made infrastructure without building an LMS from scratch.
The plugin is paid: starting at $199 per year for 1 site or $29/month for the cloud version (current pricing on the LearnDash website). There's no commission on course sales; all the money goes to you.
Step 1: Installing LearnDash
Purchase a license from the official LearnDash website. After payment, download the plugin ZIP archive from your account dashboard.
Go to the WordPress admin panel: Plugins → Add New → Upload Plugin. Select the downloaded ZIP and click "Install." After installation, click "Activate."
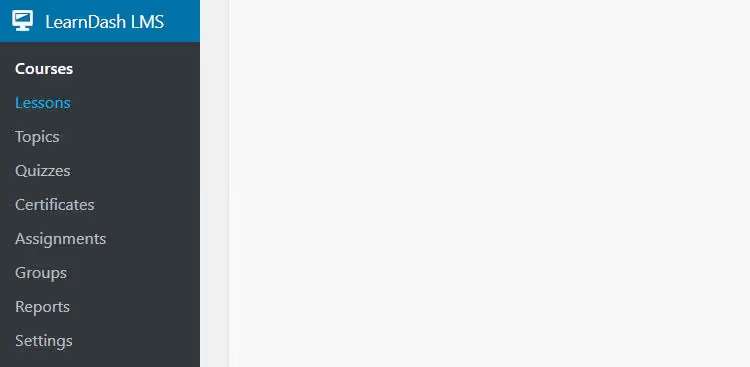
Done. A LearnDash LMS section has appeared in the WordPress sidebar menu; this is where you'll manage courses, lessons, quizzes, and payments.
Step 2: Creating a course
In the sidebar menu, select LearnDash LMS → Courses → Add New. The course editor will open, almost like a regular WordPress post.
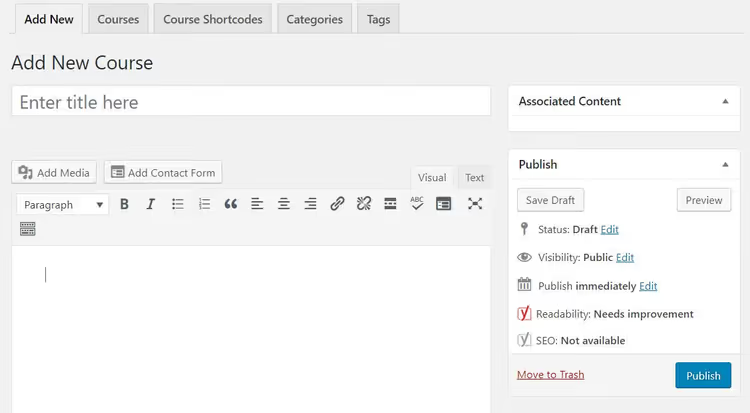
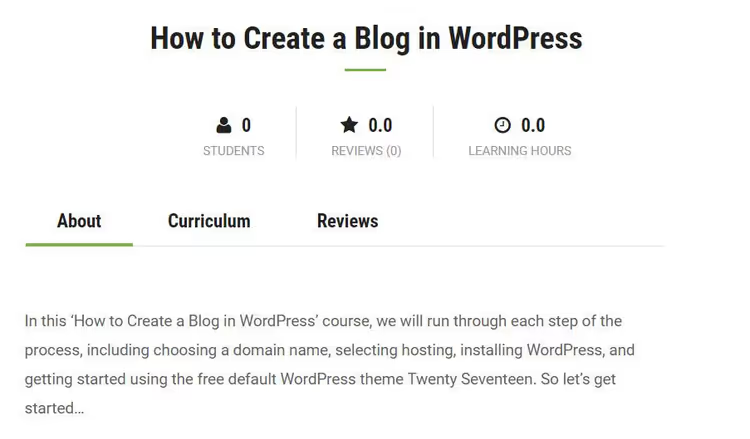
This is the main course page. Here you'll set the title, introductory description, and all settings. Lessons, quizzes, and certificates are created on separate LearnDash pages; you'll link them to the course later.
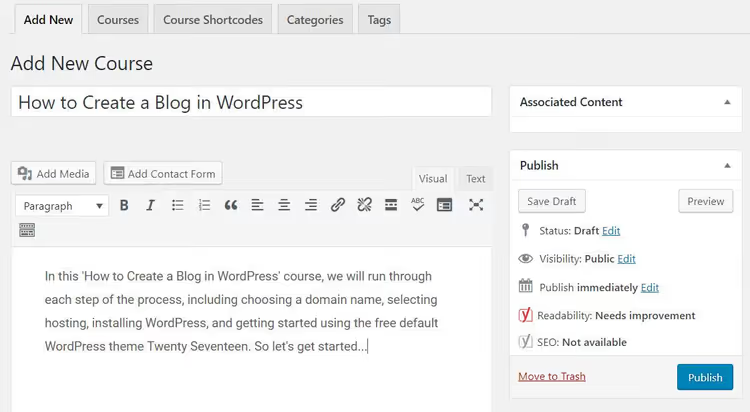
Enter the course title and add a description in the WordPress editor. This is what students will see on the course landing page before purchasing or starting the course.
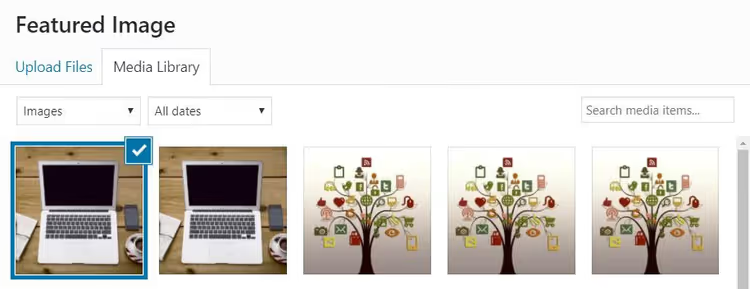
Set the course cover image through the Featured Image block in the right column. This image will appear in the course card, on the payment page, and in social media previews.
Course URL

By default, the course URL contains the post ID (for example, /courses/123). To make it readable, go to Settings → Permalinks in the WordPress menu.
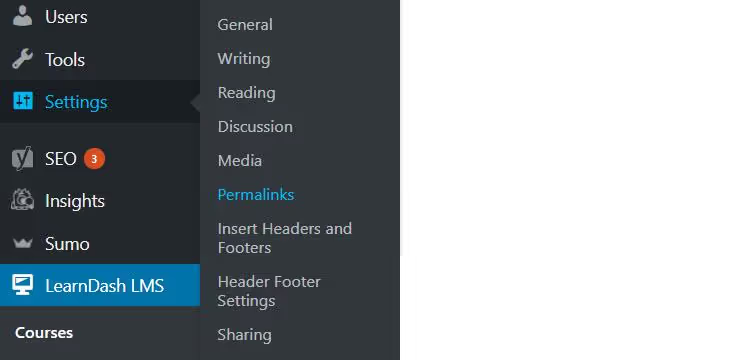
Select the Post name option and click "Save Changes." Now the course URL is built from its title: /courses/php-dlya-nachinayushhih/.

Return to the course page; the URL is now readable. This is important for SEO and for students to see a meaningful link.
Course settings
Course settings are located below the editor in the Course block. Here you manage pricing, access, lesson sequence, and certificates.
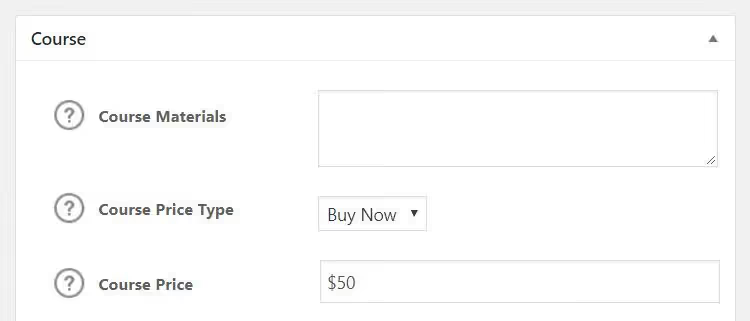
Scroll down to the Price Type section. Four options are available:
- Open: the course is available to everyone without registration
- Free: free, but site registration is required
- Buy now: one-time purchase, you set the price
- Recurring: periodic subscription with a customizable billing cycle
For a paid course, specify the price. If you chose Recurring, set the billing period: monthly, quarterly, or annually.
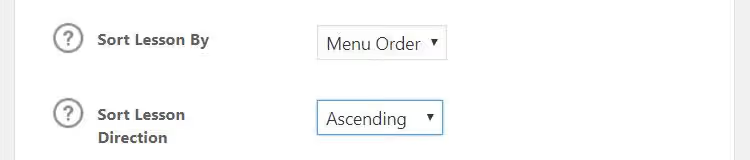
In the Lesson Sort section, set Order Menu and Ascending. Then after creating lessons, you'll be able to control their display order.
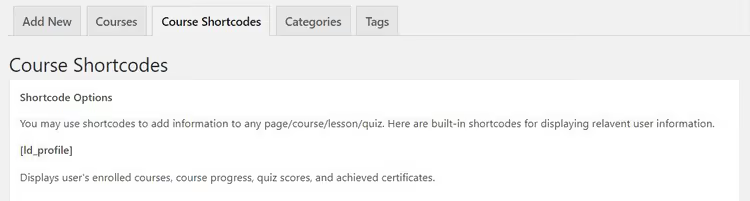
At the top of the page, there's a Course Shortcodes tab. Here you'll find ready-made shortcodes for displaying user information within lessons and quizzes.
When the settings are ready, click "Publish."
Step 3: Adding lessons
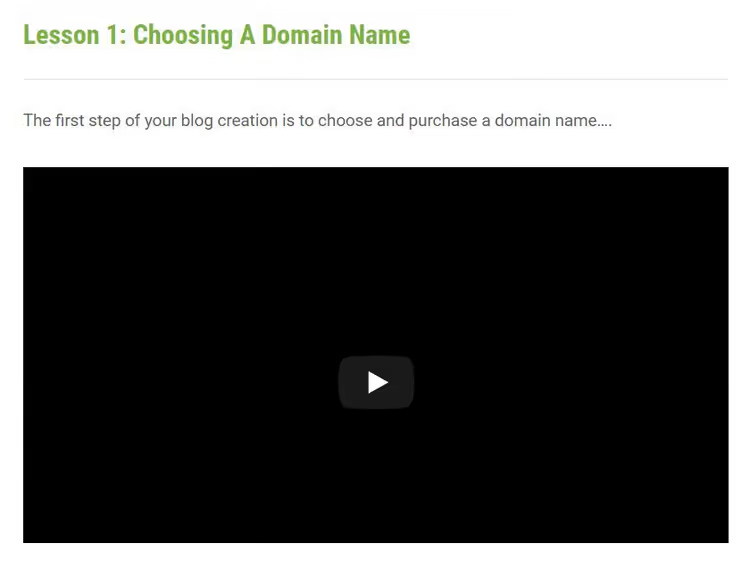
The course is built; now break it into lessons. This is the main principle of a quality LMS: students receive material in portions and don't lose motivation in a wall of text.
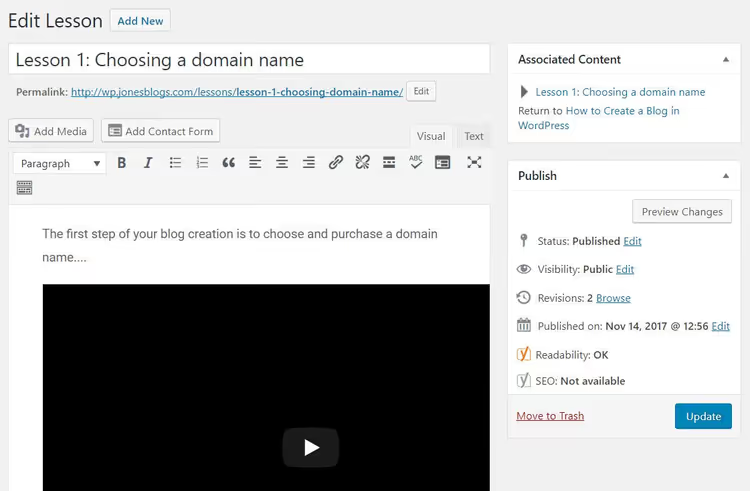
Select LearnDash LMS → Lessons → Add New. Give the lesson a title and fill it with content through the WordPress editor. You can insert text, images, or YouTube videos; just copy the video URL and paste it into the editor, and LearnDash will automatically embed the player.
Each lesson should answer one specific question or teach one skill. Don't try to fit an entire topic into one lesson.
Lesson settings
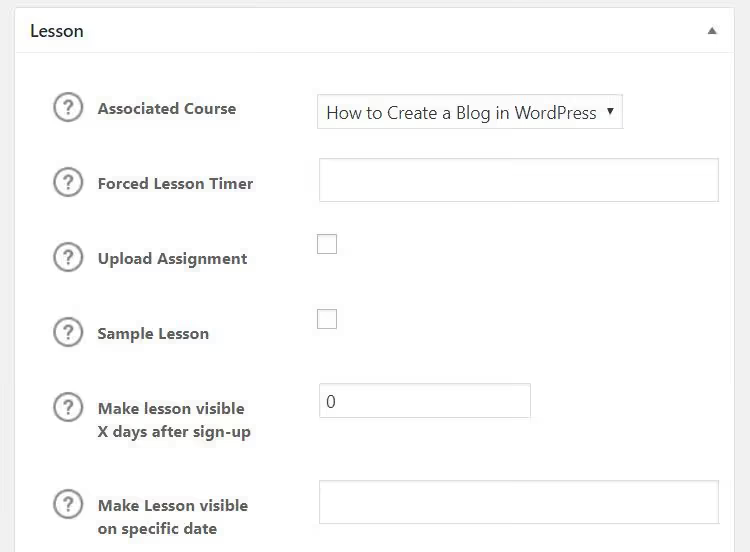
Scroll down the page to the Lesson block. Here you need to:
- Associate the lesson with a course: select a course from the dropdown list.
- If necessary, set a lesson timer: a time limit for completion.
- Enable drip-feed: the lesson becomes available on a schedule (N days after registration or on a specific date). This is a standard technique for retaining students in long courses.
Note: for drip-feed, set the lesson visibility to scheduled, otherwise the date won't work. After configuring, click "Publish."
Step 4: Adding a quiz
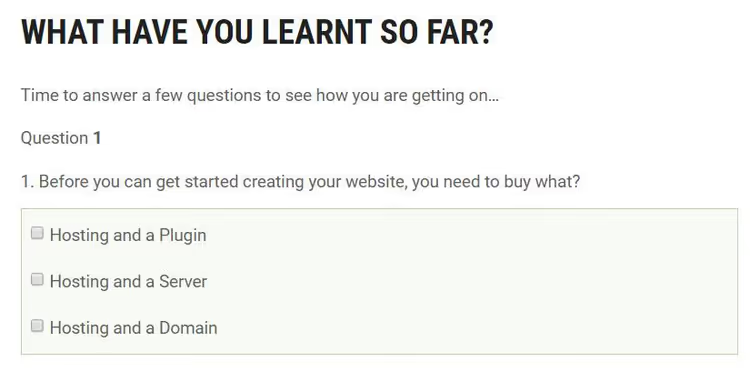
A quiz reinforces the material and gives students an objective measure of progress. To create one, select LearnDash LMS → Quizzes → Add.
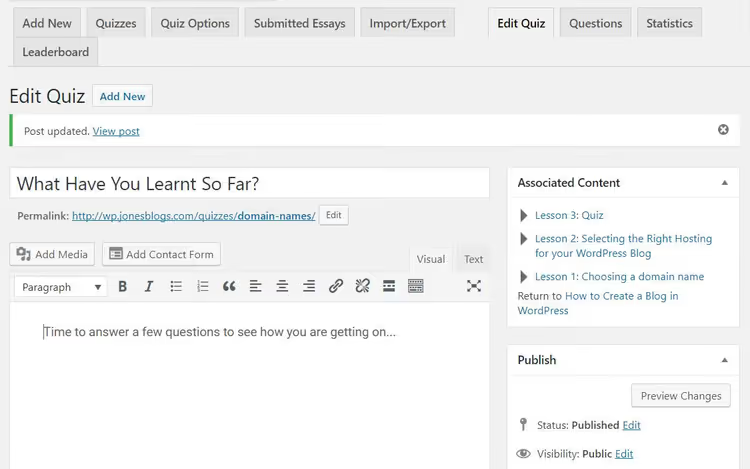
Give the quiz a title and, if needed, write an introduction in the editor. For example, briefly describe what the test covers and how many questions it contains.
Quiz settings
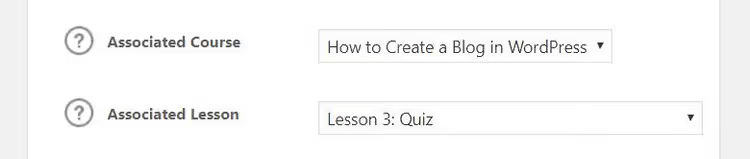
In the Quiz block, link the quiz to the appropriate course and lesson. Then configure the key parameters:
- Number of attempts: how many times a student can retake the test
- Passing score: the percentage threshold at which the test is considered passed
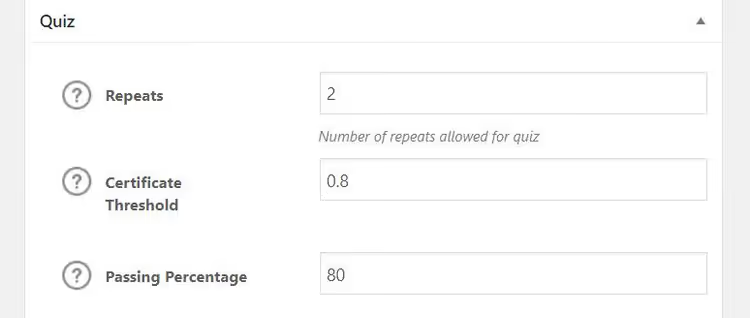
You can also enable:
- Quiz timer: a time limit for answers
- Autostart: the test starts immediately when the page loads
- Leaderboard: students see each other's results
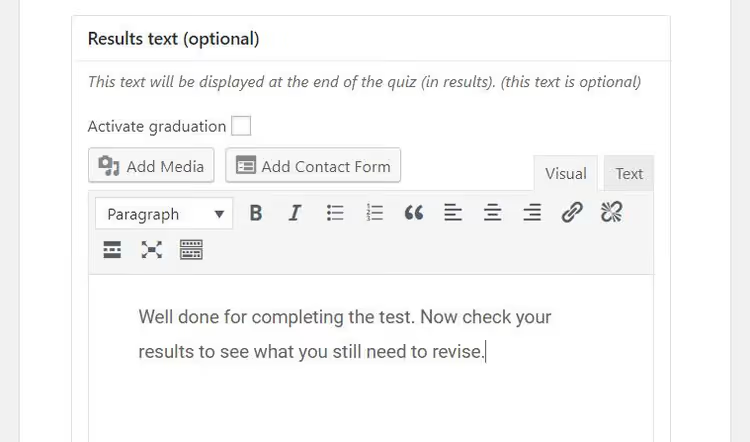
In the Quiz Result Message field, add text that students will see after completing the test. For those who passed, include congratulations and a link to the next lesson. For those who didn't, offer a chance to retake or review the material.
Creating questions
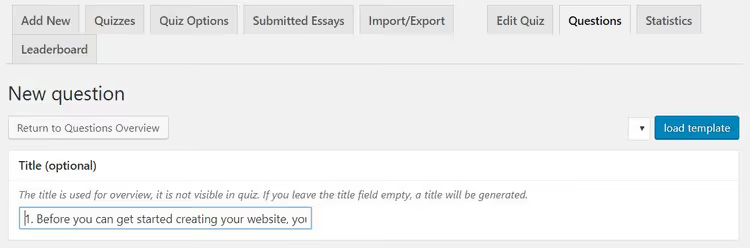
After saving the quiz, new tabs will appear at the top of the page. Select Questions → Add Question.
LearnDash supports several formats:
- Multiple choice: one or more correct answers
- Fill in the blanks: students type the missing word
- Sorting: arrange options in the correct order
- Free answer: essay or extended response
For each question, you can add a hint that will be shown to students when they're struggling. Click "Publish" when all questions are ready.
Step 5: Connecting payments
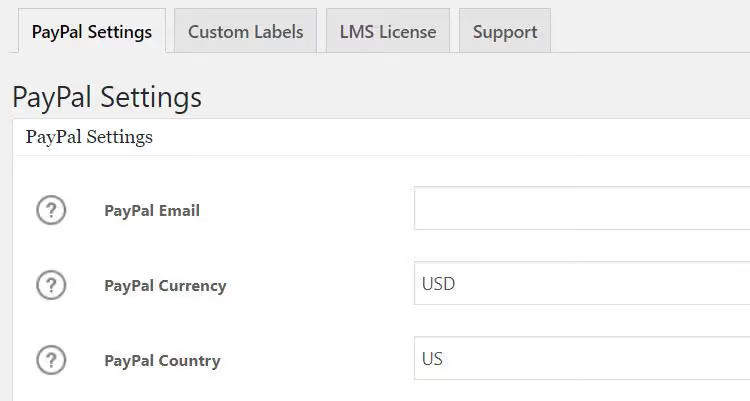
To accept money for courses, set up a payment gateway. Go to LearnDash LMS → Settings.
LearnDash comes with PayPal integration out of the box. Fill in the **PayPal **Email and PayPal Country fields, and you can already sell courses.
To accept bank cards, connect Stripe Connect, which has been built into LearnDash since version 3.x and doesn't require installing a separate addon. It's faster and more reliable than the old Stripe Add-on, which has been deprecated. Integrations with 2Checkout and Zapier are also available.
After filling in the PayPal or Stripe details, test the payment on a demo course with a minimum price. Make sure the student automatically gains access after payment.
Video tutorial: complete process from installation to sales
The text steps above are enough to launch a course. But if you find it easier to watch a real person clicking buttons, here's an up-to-date English video showing the entire journey from an empty site to a working LMS:
⁉️🤔 Frequently asked questions
Do I need to know how to code to set up LearnDash?
No. All the steps in this guide are done through the WordPress admin panel without code. Lessons, quizzes, and prices are configured in the visual editor. The only thing that might require CSS editing is the appearance of course pages, if the default styling doesn't suit you. But most modern WordPress themes display LearnDash templates correctly anyway.
How is LearnDash better than cloud platforms like Teachable or GetCourse?
The main thing is full control and zero commission. Cloud platforms take 5% to 10% from each sale (Teachable pricing) or charge a fixed monthly fee. LearnDash costs $199 per year for 1 site (LearnDash pricing) with no limits on students or courses. You pay once a year, and that's it. Plus, migrating from a cloud platform to your own LMS almost always means losing SEO rankings and having to reconfigure integrations.
Can I sell courses in installments or by subscription?
Yes. When setting the course price, select the Recurring type; then students pay not once, but monthly or annually. For installments, create a subscription with a limited number of payments. Keep in mind that recurring charges require a payment gateway that supports recurring payments: Stripe Connect handles this, while PayPal support depends on the country.
Does LearnDash have video protection and material download prevention?
LearnDash itself doesn't encrypt videos or block file downloads. But this functionality can be added through extensions. For video protection, people use LearnDash Video Pro from WisdmLabs (streaming without a direct file link) or integration with Vimeo Pro. For PDFs, you can enable watermarks with the student's name through third-party plugins.
What should I do if the course isn't selling?
Check three things. First: the course landing page. It should clearly state what problem the course solves and what result the student will get. Second: the price. Compare with competitors; if your course is noticeably more expensive than similar ones with reviews, you need either a content upgrade or a price reduction. Third: a free trial lesson. Add the first lesson as a Free course and share it on social media; this is the best way to prove expertise before purchase.
What's next: launch, promotion, and scaling
At this point, you have a working course with lessons, a quiz, and connected payment processing. The basic infrastructure is ready.
Next, three steps that turn a course from "made and forgotten" into a working income channel:
If you plan to bring in external instructors, install Instructor Role for LearnDash. The plugin adds a "Course Author" role: the person creates and manages courses through the frontend without access to the WordPress admin panel.
To analyze student results and export quiz answers, add Quiz Reporting for LearnDash. It will show which questions cause difficulties and allow you to make targeted improvements to lesson material.
Place a free introductory lesson on the landing page and announce it in your channels. This is the most effective way to gain your first paying students.
Start with one course. Launch it, collect feedback from students, improve the material, and only then create a second one. Each subsequent course on the same site doesn't require reconfiguring payments and structure: you simply add lessons and quizzes following the process you already know.

A professional team of writers and editors specializing in creating quality content.